Welcome to our step-by-step friendship bracelet guide! If you’re looking to master the art of tying friendship bracelets, you’ve come to the right place. Whether you’re a beginner or already have some experience, our easy-to-follow tutorial will teach you the best ways to create beautiful bracelets that will make any friendship even stronger.
In this tutorial, I’ll walk you through the process of creating friendship bracelets, sharing handy tips and techniques along the way. From choosing the right materials to mastering different knotting patterns, you’ll learn everything you need to know to create stunning bracelets that are uniquely yours.
With our beginner’s guide to tying friendship bracelets, you’ll discover a world of creativity and self-expression. Whether you’re crafting a bracelet for yourself or creating a thoughtful gift for a friend, you’ll be amazed at the endless possibilities and patterns you can create.
So, grab your materials and let’s get started! Together, we’ll dive into the world of friendship bracelet making, exploring the step-by-step instructions, friendship bracelet patterns, and DIY tips that will help you create bracelets that are not only beautiful but also hold a special meaning.
The Basics: What You’ll Need to Get Started
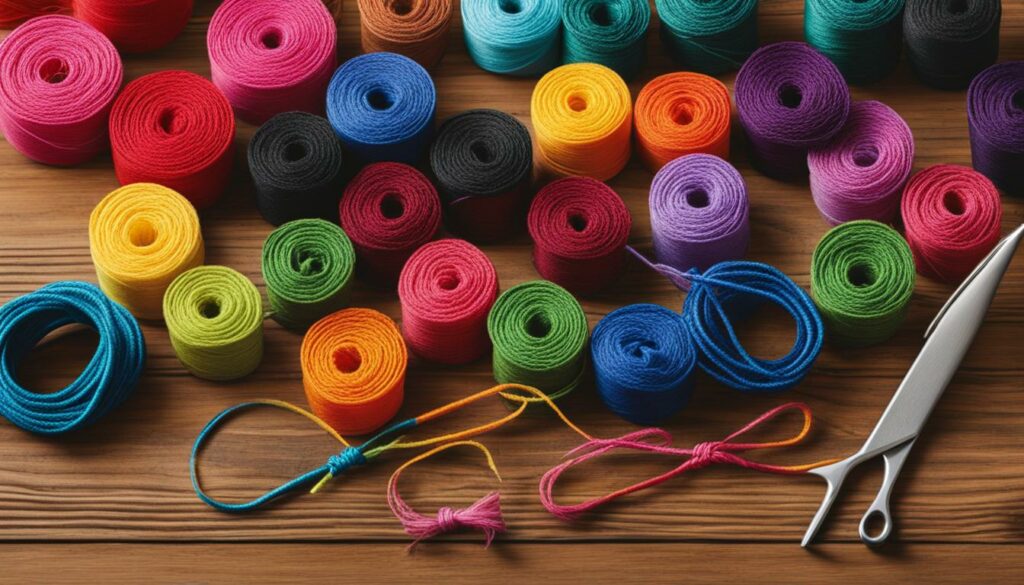
When it comes to tying friendship bracelets, having the right materials is key to creating beautiful and lasting designs. Here are the essential items you’ll need to get started:
- Embroidery floss: This thin and colorful thread is the most popular choice for making friendship bracelets. It comes in a wide range of colors, allowing you to create vibrant designs.
- Thin yarn: If you prefer a different texture or want to experiment with different materials, thin yarn can also be used for friendship bracelets.
- Scissors: A good pair of scissors is necessary for cutting the thread or yarn to the desired length.
- Tape or pins/safety pins: Tape or pins/safety pins can be used to hold your bracelet in place while you braid and knot it, ensuring that it stays secure and doesn’t unravel.
With these materials on hand, you’ll be ready to dive into the world of friendship bracelet making and create unique designs that showcase your creativity and skill.
“Tying friendship bracelets is a fun and creative activity that allows you to make personalized accessories for yourself and your loved ones.”
Whether you’re a beginner or an experienced crafter, having the right materials at your disposal is essential for a successful friendship bracelet project. By using embroidery floss or thin yarn, a pair of scissors, and tape or pins/safety pins, you’ll have everything you need to bring your creative vision to life.
Now that you have all the necessary materials, let’s move on to the next step: measuring and cutting the thread for your friendship bracelet.
Step 1: Measuring and Cutting the Thread
When it comes to tying friendship bracelets, one of the first steps is to measure and cut the thread. This ensures that you have the right length of thread to create a beautiful bracelet. To start, gather your materials including embroidery floss or thin yarn and a pair of scissors.
Next, decide on the length of the thread you need. The standard length for a friendship bracelet is typically around 60 to 70 inches, but you can adjust it based on your preference. Remember to consider the number of strands you’re using when determining the length.
Once you have decided on the length, use your scissors to cut the thread. Make sure to cut it neatly and avoid any frayed edges. It’s always better to have a slightly longer thread than needed, as you can always trim it later if necessary. Now you’re ready to move on to the next step and start creating your friendship bracelet!
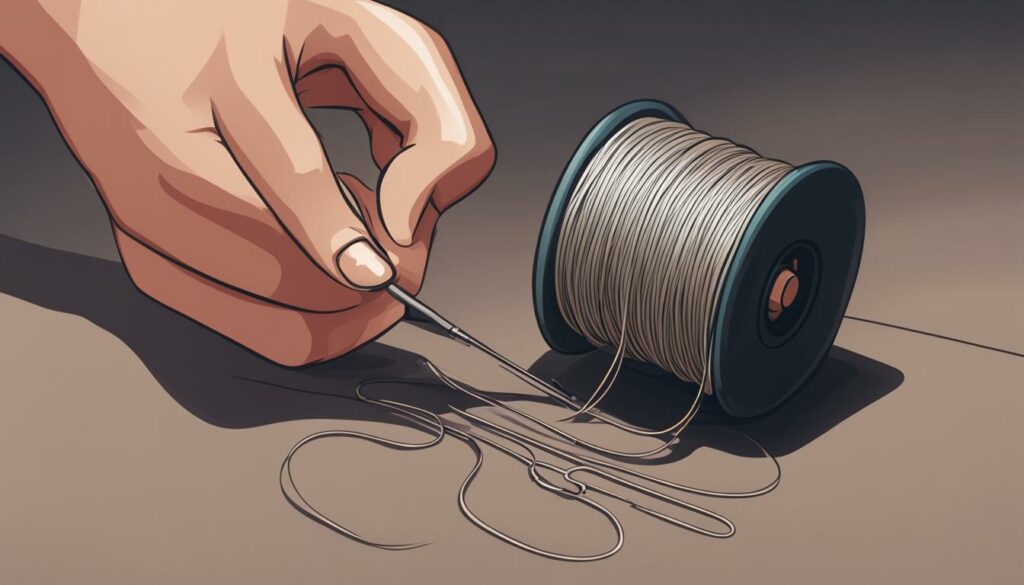
Table: Measuring Thread Length by Number of Strands
| Number of Strands | Recommended Thread Length |
|---|---|
| 1 strand | 60-70 inches |
| 2 strands | 120-140 inches |
| 3 strands | 180-210 inches |
| 4 strands | 240-280 inches |
Use the table above as a guide to help you determine the recommended thread length based on the number of strands you’re using for your friendship bracelet. Remember, these are just general recommendations, and you can always adjust the length to your liking.
Step 2: Determining the Number of Strands
When it comes to tying friendship bracelets, one of the important decisions you’ll need to make is the number of strands to use. The number of strands not only affects the look of the bracelet but also the level of difficulty.
For a classic friendship bracelet, a common choice is to use six strands. This creates a balanced and symmetrical design. However, you can experiment with different strand combinations to achieve unique patterns and effects. You can use fewer strands for a simpler look or more strands for a more intricate design.
Keep in mind that as you increase the number of strands, the complexity of the bracelet also increases. More strands mean more knots to tie, which requires more time and precision. However, the end result can be stunning and well worth the effort.
Table: Strand Combinations and Difficulty Level
| Number of Strands | Difficulty Level |
|---|---|
| 2-3 strands | Easy |
| 4-6 strands | Moderate |
| 7+ strands | Advanced |
As you gain more experience and confidence in tying friendship bracelets, don’t be afraid to explore different strand combinations and push your skills to the next level. Remember, practice makes perfect!
Step 3: Getting Started with the First Knot
Now that you have prepared your materials and cut the thread to the desired length, it’s time to begin tying your friendship bracelet! The first knot is crucial as it sets the foundation for the rest of the bracelet. To start, gather all the strands together and make sure they are aligned.
Take the leftmost strand and cross it over the other strands, forming a loop. Then, bring the end of the leftmost strand through the loop, creating a simple overhand knot. Gently pull the knot tight, but not too tight to allow for adjustments later. This first knot secures the bracelet to a surface, such as a safety pin or tape, to keep it in place while you work.

Pro Tip:
Ensure that the knots are not too tight or too loose. They should be snug enough to hold the bracelet together but still allow it to move along the threads while you work. Don’t worry if your first few knots feel a bit clumsy, practice makes perfect!
With the first knot in place, you are ready to move on to the next steps in creating your friendship bracelet. In the following sections, we will explore various knotting techniques, progressing with knotting, checking your progress, and finally, finishing the bracelet. Each step will build upon the previous one, guiding you towards creating a beautiful and meaningful friendship bracelet.
Knotting Techniques: Creating Woven Patterns with Knots
When it comes to creating beautiful friendship bracelets, mastering knotting techniques is essential. These techniques allow you to create intricate woven patterns that make each bracelet unique. By using different knotting methods and combining colors, you can create stunning designs that express your creativity and style.
One popular knotting technique for friendship bracelets is the forward knot. To create this knot, take one strand and cross it over the second strand, forming a loop. Then, bring the end of the first strand through the loop and tighten it. Repeat this process with the same strands, creating a row of forward knots. By alternating the colors of the strands, you can create a striped pattern.
“Knotting techniques allow you to create intricate woven patterns that make each bracelet unique.”
Another knotting technique is the backward knot. Similar to the forward knot, the backward knot starts by crossing one strand over the second strand. However, instead of bringing the end of the first strand through the loop, you bring it behind the second strand and through the loop. This creates a mirror image of the forward knot and can be used to create different textures and patterns in your bracelets.
For more complex designs, you can also experiment with combining forward and backward knots in the same row. This technique, known as the forward-backward knot or backward-forward knot, adds depth and dimension to your bracelet. By following specific knotting patterns, you can create intricate, woven patterns that are visually stunning.
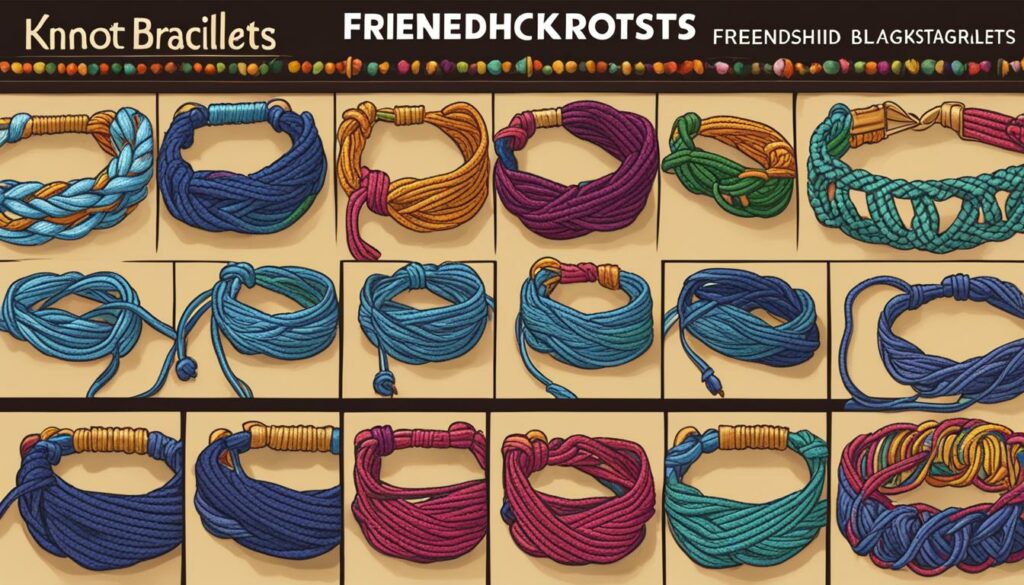
Table: Different Knotting Techniques for Friendship Bracelets
| Knotting Technique | Description |
|---|---|
| Forward Knot | Two strands are crossed, and the end of one strand is brought through the loop to create a knot. |
| Backward Knot | Similar to the forward knot, but the end of the strand is brought behind the second strand before being pulled through the loop. |
| Forward-Backward Knot | A combination of the forward and backward knots in the same row, creating woven patterns. |
| Backward-Forward Knot | The opposite of the forward-backward knot, with the backward knot followed by the forward knot in the same row. |
By mastering these knotting techniques and experimenting with different color combinations, you can create friendship bracelets that are not only meaningful but also visually captivating. Let your creativity flow and explore the endless possibilities of creating woven patterns with knots.
Step 5: Progressing with the Knotting
Now that you’ve mastered the basic knotting techniques, it’s time to progress with your friendship bracelet by adding rows of knots. This step is crucial in creating intricate patterns and designs that will make your bracelet truly stand out.
To add a new row of knots, simply repeat the knotting process with the same color strands or switch to a different color for a more vibrant look. Remember to follow your chosen pattern and ensure that each strand is knotted twice.
As you continue knotting, you’ll begin to see your friendship bracelet taking shape. It’s important to maintain a consistent tension in your knots for a neat and professional finish. Take your time and pay attention to the details as you progress with each row.
Don’t be afraid to experiment with different color combinations and knotting techniques to create unique patterns. With practice, your skills will improve, and you’ll be able to create more complex designs that will impress your friends and loved ones.
Tips for Progressing with Knotting
- Double-check your pattern before starting a new row to ensure accuracy
- Keep your knots tight but not overly tight to maintain a balanced appearance
- Take breaks if needed to avoid strain on your hands and wrists
- Don’t feel pressured to rush – take your time and enjoy the process
- Experiment with different color combinations and knot variations to create unique designs
Table: Common Friendship Bracelet Patterns
| Pattern | Description | Difficulty |
|---|---|---|
| Chevron | A classic V-shaped pattern that is great for beginners | Easy |
| Diagonal Stripes | Creates a diagonal striped pattern in contrasting colors | Intermediate |
| Heart | Forms a heart shape in the center of the bracelet | Advanced |
| Double Helix | Creates a twisted rope-like design using multiple strands | Expert |
“Progressing with knotting is an exciting stage of creating friendship bracelets. Each row brings you closer to the final design, and the possibilities are endless. Enjoy the process and let your creativity shine!”
Step 6: Checking Your Progress
As you continue knotting your friendship bracelet, it’s important to periodically check your progress to ensure that everything is going smoothly. This step allows you to identify any mistakes in the knotting process and make any necessary adjustments. By regularly checking your work, you can ensure that your bracelet turns out just the way you want it.
To check your progress, hold the bracelet up and examine the pattern. Look for any inconsistencies or errors in the knots. If you spot a mistake, don’t worry! It’s easy to fix. Use a needle or a fine-pointed object to carefully pick out the incorrect knot and redo it correctly. Take your time and be gentle to avoid damaging the surrounding knots.
Another helpful tip is to compare your bracelet with the pattern you are following. Double-check that you are tying the knots in the correct order and using the right colors. This will help you catch any mistakes early on and make corrections before they become more difficult to fix.
Common Mistakes to Look Out For
When checking your progress, there are a few common mistakes to watch out for:
- Twisted or tangled threads: Ensure that the threads are untangled and straight before knotting.
- Inconsistent tension: Make sure that all the knots are tied with the same amount of tension to create a uniform look.
- Misplaced knots: Check that each knot is positioned correctly according to the pattern. Misplaced knots can alter the design.
- Skipped knots: Verify that you haven’t accidentally skipped any knots. Skipping knots can disrupt the pattern and affect the overall appearance.
By being diligent in checking your progress and addressing any mistakes along the way, you can create a beautiful friendship bracelet that you’ll be proud to wear or gift to a friend.
| Common Mistakes | How to Fix |
|---|---|
| Twisted or tangled threads | Untangle and straighten the threads before knotting. |
| Inconsistent tension | Ensure all knots are tied with the same amount of tension for a uniform look. |
| Misplaced knots | Check that each knot is positioned correctly according to the pattern. |
| Skipped knots | Verify that you haven’t accidentally skipped any knots in the pattern. |
Remember, making mistakes is part of the learning process, so don’t get discouraged if you encounter errors. Take your time, be patient, and enjoy the journey of creating your unique friendship bracelet.
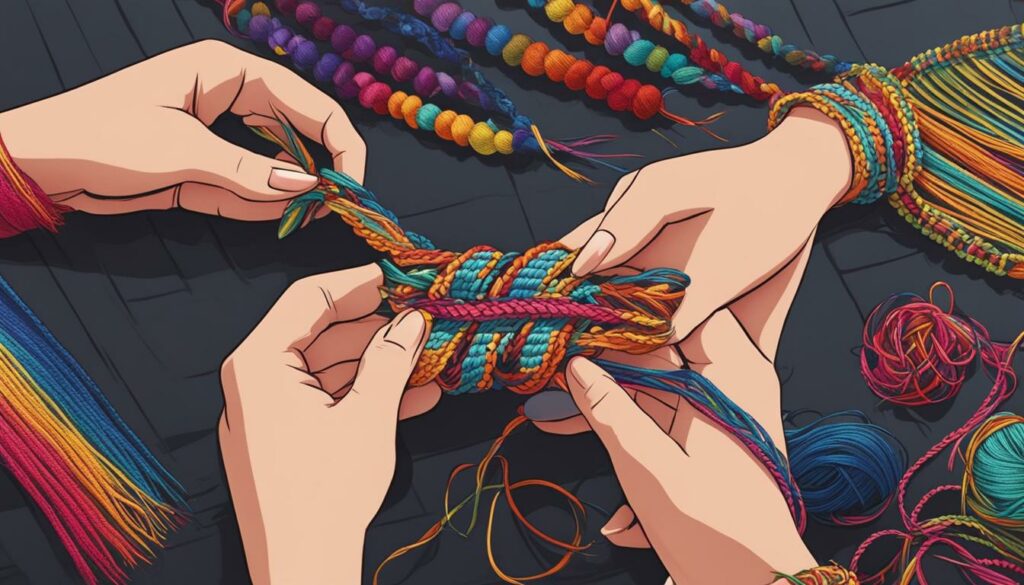
Step 7: Finishing the Bracelet
After all the hard work of knotting, it’s time to finish your friendship bracelet and give it that perfect final touch. The finishing steps not only ensure that your bracelet stays securely in place but also add a neat and polished look to your creation.
To finish your friendship bracelet, follow these simple steps:
- Start by tying a knot at the end of your bracelet, making sure it’s tight and secure.
- Trim any excess thread, leaving a small tail.
- If you prefer, you can add a decorative charm or bead to the end of the bracelet for an extra personal touch.
- To secure the bracelet on your wrist, wrap it around and tie a double knot. You can even ask a friend to help you tie it if needed.
Remember, practice makes perfect, so don’t be discouraged if your first few attempts at finishing the bracelet don’t turn out exactly as you envisioned. With time and practice, you’ll master the art of securing the ends and achieve a professional-looking finish every time.
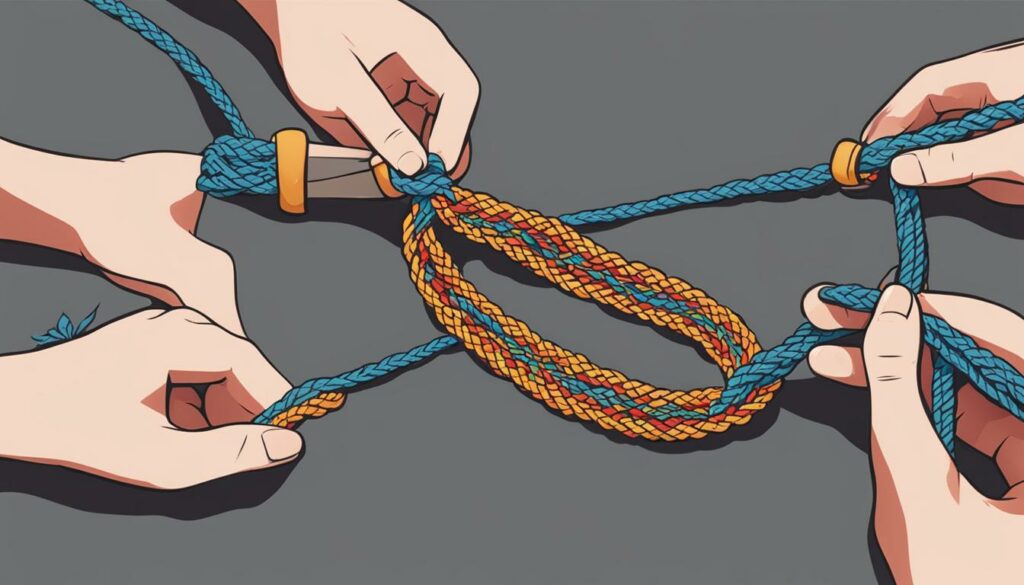
Table: Common Finishing Techniques
| Technique | Description |
|---|---|
| Square Knot Closure | The most common technique, where the ends of the bracelet are tied together with a square knot. |
| Sliding Knot | A adjustable closure that allows you to easily loosen and tighten the bracelet to your desired fit. |
| Lobster Claw Clasp | Using a lobster claw clasp adds a touch of sophistication to your bracelet and allows for easy on and off. |
| Button Closure | A decorative button is attached to one end of the bracelet, which is then looped through a set of loops on the other end to secure it. |
Experiment with different finishing techniques to discover the one that suits your style and preference. Whether you opt for a classic square knot closure or a unique button closure, the finishing step adds that final flourish to your friendship bracelet, making it ready to be worn or gifted to a special friend.
Tips for Perfect Friendship Bracelets
In order to achieve a neat appearance in friendship bracelets, there are several tips and techniques that you can follow. These tips will help you create beautiful bracelets that you can proudly wear or give as gifts to your friends. Here are some valuable suggestions to consider:
- Choose high-quality materials: Using good quality embroidery floss or thin yarn will ensure that your bracelets have a clean and polished look.
- Pay attention to tension: Keep the tension of your knots consistent throughout the bracelet to maintain a uniform appearance. Practice will help you find the right balance.
- Secure your work: Use pins or tape to hold your bracelet in place while working to prevent it from becoming tangled or unraveling.
- Follow the pattern: Make sure to carefully follow the pattern instructions and knot sequence. This will help you achieve the desired design and prevent mistakes.
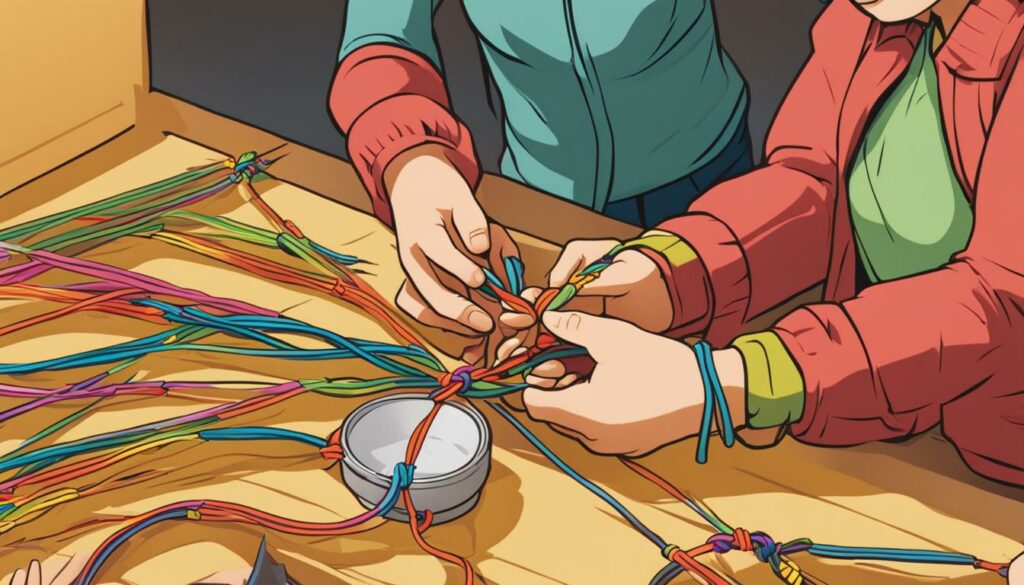
Blocking the bracelet: After completing your friendship bracelet, blocking it can help prevent curling and give it a more professional finish. Lay the bracelet flat on a towel, spray it lightly with water, and then gently stretch and reshape it.
“Practice makes perfect! Don’t be discouraged if your first few bracelets don’t turn out exactly as you hoped. Keep practicing and experimenting with different techniques to improve your skills.”
By following these tips and practicing regularly, you will be able to create stunning friendship bracelets that showcase your creativity and attention to detail. Remember to have fun and enjoy the process of making these special tokens of friendship.
| Tips for Perfect Friendship Bracelets |
|---|
| Choose high-quality materials |
| Pay attention to tension |
| Secure your work |
| Follow the pattern |
Learn the 4 Basic Friendship Bracelet Knots
As you dive into the world of friendship bracelet making, it’s essential to familiarize yourself with the four basic knots that form the foundation of these intricate designs. These knots include the forward knot, backward knot, forward-backward knot, and backward-forward knot. Mastering these fundamental techniques will open up a world of possibilities for creating beautiful and unique friendship bracelets.
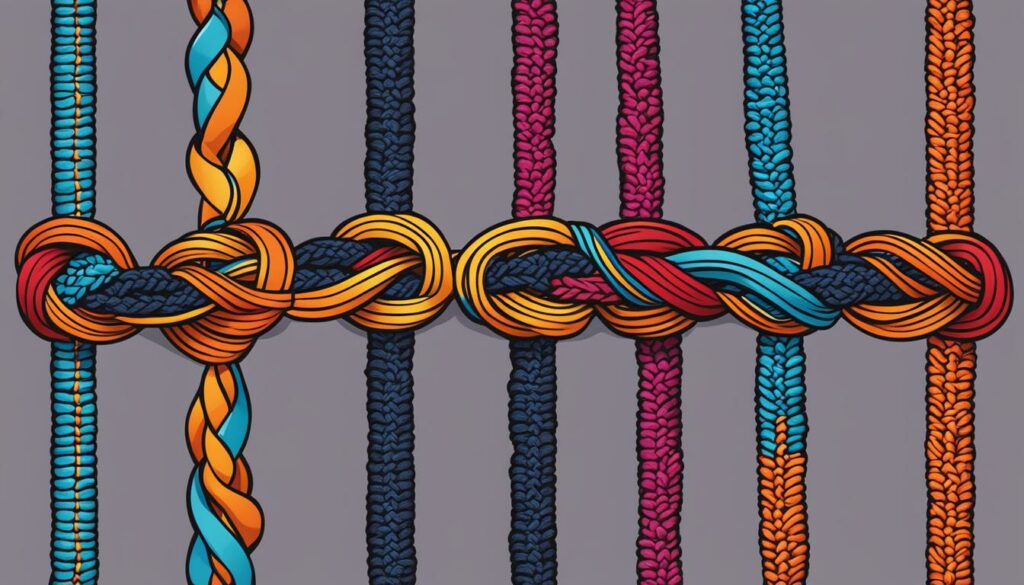
The forward knot is a simple and versatile knot that creates a diagonal line across your bracelet. To tie a forward knot, take one strand of thread and cross it over the other, forming a loop. Then, pass the end of the first strand through the loop, pulling it tight to secure the knot. This knot is often used to create straight lines or to tie two strands together.
The backward knot is the opposite of the forward knot, resulting in a diagonal line in the opposite direction. To tie a backward knot, follow the same steps as the forward knot but start with the second strand crossing over the first. This knot is commonly used to create chevron patterns and adds depth to your bracelet.
The forward-backward knot and backward-forward knot are variations of the forward and backward knots. To tie a forward-backward knot, start with a forward knot followed by a backward knot using the same two strands. The backward-forward knot is the reverse, starting with a backward knot followed by a forward knot. These knots are perfect for creating intricate designs and alternating colors in your friendship bracelets.
Understanding Friendship Bracelet Knot Symbols
When it comes to reading friendship bracelet patterns, understanding the various knot symbols is key. These symbols serve as a visual representation of the different types of knots used in bracelet designs. By familiarizing yourself with these symbols, you’ll be able to follow patterns with ease and create beautiful bracelets.
One commonly used symbol in friendship bracelet patterns is the circle. This symbol represents a knot that is tied using a specific color of thread. The color of the circle indicates the color of the thread to be used, while the lines attached to the circle indicate the left and right strings that the knot should be tied around. This visual representation helps you decipher which strings to work with when creating your bracelet.
Another important symbol to look out for is the diagonal line. This symbol represents a forward knot, which is a technique used to create woven patterns within the bracelet. The direction of the diagonal line indicates the direction in which the knot should be tied. Whether it’s from left to right or right to left, understanding this symbol ensures that you’re creating the correct knot in the pattern.
By paying attention to these friendship bracelet knot symbols, you’ll be able to read patterns accurately and bring your bracelet designs to life. So the next time you’re ready to start a new bracelet project, remember to refer to the symbols guide and unleash your creativity!
| Knot Symbol | Description |
|---|---|
| Circle | Represents a knot tied with a specific color of thread, with lines indicating the left and right strings to work with. |
| Diagonal Line | Represents a forward knot, with the direction indicating the way the knot should be tied. |
How Tight Should Friendship Bracelet Knots Be?
When it comes to tying friendship bracelets, achieving the right tightness in your knots is crucial. Too loose, and the bracelet may come undone; too tight, and it may become stiff and uncomfortable to wear. Finding the perfect tension requires practice and a keen eye for detail.
One way to ensure the right tightness is to pay attention to the spacing between your knots. As you make each knot, keep them close together but not overlapping. This will give your bracelet a neat and even appearance. You can use your fingernail or a small object to create consistent spacing between knots. Remember, practice makes perfect, so don’t be discouraged if your first few bracelets don’t turn out exactly as you want them to.
“Achieving the right tightness in friendship bracelet knots is all about finding that delicate balance. You want your knots secure enough to hold the bracelet together, but not so tight that they distort the overall shape or cause discomfort. It takes time and experimentation to develop a feel for the ideal tension.”
It’s worth noting that the tightness of your knots can also depend on the type of bracelet pattern you’re working on. Some patterns may require slightly looser knots to create a more open and lacy look, while others may call for tighter knots to ensure a structured and solid bracelet. Remember to refer to the specific pattern instructions and adjust your tension accordingly.
Table: Achieving the Right Tightness in Friendship Bracelet Knots
| Tips | Effects |
|---|---|
| Practice knotting with different tensions | Helps you develop a feel for the ideal tightness |
| Space knots evenly | Creates a neat and uniform appearance |
| Refer to pattern instructions | Ensures the desired look and structure of the bracelet |
Practice Makes Perfect!
When it comes to mastering the art of tying friendship bracelets, practice truly makes perfect! The more you practice the different knotting techniques, the better your skills will become, and the more intricate and beautiful bracelets you’ll be able to create. So, don’t be afraid to start with simple patterns and gradually challenge yourself with more complex designs. With patience and dedication, you’ll soon be able to tie friendship bracelets like a pro.
Improving your knotting skills requires consistent practice. Set aside regular time each day to work on your bracelet projects. Whether you’re practicing during your lunch break or unwinding in the evening, make it a habit to pick up your threads and knots. By dedicating time to practice, you’ll build muscle memory and develop a better understanding of the patterns and techniques involved.
Try experimenting with different thread colors, knot combinations, and bracelet designs. Don’t be afraid to make mistakes – they’re all part of the learning process. Take note of what works well and what doesn’t, and use those insights to enhance your skills. The more you practice and experiment, the more creative and confident you’ll become in your knotting abilities.
Remember, practice is not about perfection but progress. Enjoy the journey of crafting friendship bracelets and take pride in each bracelet you create, regardless of its complexity. Embrace the learning process, and let your creativity shine through your handcrafted masterpieces. So, pick up your threads, practice those knots, and watch your skills flourish!
Tips for Practicing Friendship Bracelet Knots:
- Set aside dedicated practice time each day.
- Start with simple patterns and gradually challenge yourself.
- Experiment with different thread colors and knot combinations.
- Don’t be afraid to make mistakes – they’re part of the learning process.
- Take note of what works well and what doesn’t.
- Embrace the learning process and enjoy the journey.
Mastering Friendship Bracelet Knot Techniques
As you continue to practice and explore the art of friendship bracelet making, it’s important to focus on mastering the various knot techniques. Building a strong foundation in knotting will allow you to create more intricate and advanced bracelet patterns. Let’s dive into some of the advanced knotting techniques that will take your friendship bracelet skills to the next level.
1. Chevron Knotting
Chevron knotting is a technique that creates a beautiful V-shaped pattern on your friendship bracelet. To achieve this effect, you’ll alternate between forward knots and backward knots in a specific pattern. This technique requires precision and attention to detail, but the end result is definitely worth it. Experiment with different color combinations to make your chevron bracelets truly unique.
2. Alpha Patterns
If you’re looking to create bracelets with intricate designs and letters, alpha patterns are the way to go. These patterns involve using specific knot combinations to form different letters and shapes. While it may seem challenging at first, with practice and patience, you’ll be able to create personalized bracelets with names, initials, or even special messages. Get creative and let your imagination run wild!
3. Macramé Techniques
Macramé is an ancient art form that involves intricate knotting techniques to create beautiful patterns and textures. Incorporating macramé techniques into your friendship bracelet designs can add depth and complexity. Explore different types of knots, such as square knots, spiral knots, and half-hitch knots, to create stunning macramé bracelets that are sure to impress.
With these advanced knotting techniques, you’ll be able to elevate your friendship bracelet creations and showcase your skills. Remember, practice is key to mastering these techniques, so don’t be discouraged if it takes time to get the hang of it. Enjoy the process, have fun experimenting with different patterns and colors, and soon enough, you’ll be creating intricate and unique friendship bracelets that are truly works of art.
Conclusion
In conclusion, learning how to tie friendship bracelets is a fun and rewarding craft that allows you to create personalized accessories for yourself and your loved ones. By following our easy guide, you have now mastered the basics of tying friendship bracelets, including measuring and cutting the thread, determining the number of strands, and starting the first knot.
Throughout this article, we have covered essential techniques such as knotting, progressing with the knotting process, and checking your progress along the way. We have also provided tips for finishing your bracelet and achieving a neat appearance.
Remember, practice makes perfect! Don’t be afraid to experiment with different knotting techniques and patterns to enhance your skills. With time and patience, you can become a master of friendship bracelet making.
FAQ
What materials do I need to tie friendship bracelets?
You will need embroidery floss or thin yarn, scissors, and tape or pins/safety pins to hold the bracelet in place while braiding and knotting.
How do I measure and cut the thread for a friendship bracelet?
To measure and cut the thread, follow our instructions in Section 3, which includes tips on appropriate length and considerations for different numbers of strands.
How do I determine the number of strands needed for a friendship bracelet?
Section 4 explains how to determine the number of strands, including different strand combinations. It also discusses the effects of higher strand numbers on the difficulty level and appearance of the bracelet.
How do I start a friendship bracelet?
Section 5 provides instructions on how to start the friendship bracelet by tying the first knot, including the use of an overhand knot and securing the bracelet to a surface for braiding.
What knotting techniques are used to create woven patterns on a friendship bracelet?
Section 6 explains the knotting techniques used to create woven patterns on a friendship bracelet. It covers the process of making small knots using different color strands and provides detailed instructions on how to tie the knots in the correct order.
How do I continue knotting a friendship bracelet?
Section 7 guides you on how to continue knotting the friendship bracelet by adding rows of knots. It emphasizes the importance of following the pattern and ensuring that each strand is knotted twice.
How do I check the progress of my friendship bracelet?
In Section 8, you will find tips on how to check the progress of your friendship bracelet and identify any mistakes in the knotting. We suggest using a needle to pick out any knots that need to be undone.
How do I finish a friendship bracelet?
Section 9 explains how to finish the friendship bracelet by tying knots at the ends and cutting off any excess thread. It also provides suggestions for tying the bracelet onto the wrist.
Do you have any additional tips for creating perfect friendship bracelets?
Yes, Section 10 offers additional tips for creating perfect friendship bracelets, including suggestions for achieving a neat appearance, blocking the bracelet to prevent curling, and handling the bracelet during wear and washing.
What are the four basic friendship bracelet knots?
The four basic friendship bracelet knots are the forward knot, backward knot, forward-backward knot, and backward-forward knot. Section 11 explains the structure of these knots, how to tie them, and their uses in various bracelet patterns.
How do I read friendship bracelet pattern symbols?
Section 12 explains the symbols used to represent the different knots in friendship bracelet patterns. It describes the color lines and circle symbols used to represent the left and right strings and the knot’s color and direction.
How tight should friendship bracelet knots be?
Section 13 provides guidance on achieving the right tightness in friendship bracelet knots. It explains that knots should not be too loose or too tight, highlighting the importance of practice to find the perfect tension.
How can I improve my friendship bracelet knotting skills?
Section 14 encourages readers to practice the friendship bracelet knots to improve their skills. It emphasizes that with patience and practice, they can master the knots and create beautiful bracelets.
Why is mastering friendship bracelet knots important?
Section 15 discusses the importance of mastering friendship bracelet knots and how it leads to the ability to create more intricate and advanced bracelet patterns. It encourages readers to continue practicing and experimenting with different knot techniques.
Source Links
- https://sarahmaker.com/friendship-bracelet-knots/
- https://www.instructables.com/how-to-make-a-friendship-bracelet-1/
- https://twitchetts.com/2022/03/friendship-bracelet-knots.html/

Hey lovely readers! My name is Chantal and I am obsessed with everything accessory and jewelry. My husband (and best friend) John and I, have been writing content for this blog for over 4 years now started the RTP store with over 4000 curated accessories and jewelry. We are traveling around the world to find the latest products, negotiate the best prices and find the best quality for our readers. We have managed to make our passion for feeling and looking good into our work. We are always open to new product suggestion, improvements or feedback. If you would like to chitchat with me, email me here!
