If you have a broken ring and want to fix it yourself, you’re in the right place! In this article, I’ll guide you through the easy steps to successfully repair your ring at home. Whether it’s a small damage or a major break, with a little DIY know-how, you’ll have your ring looking as good as new in no time.
Before you rush to a jewelry store or spend a fortune on professional repair services, follow these simple instructions and save both time and money. Let’s get started on your DIY ring repair journey!
Assessing the Damage
When faced with a broken ring, the first step is to assess the damage. Take a close look at the ring and determine the extent of the breakage. Is it a simple crack or a complete separation? This initial evaluation will help you determine the best course of action for repairing your ring.
Inspect the ring carefully, paying attention to any loose stones, bent prongs, or other signs of damage. It’s important to note that certain types of damage may require professional assistance, especially if intricate repairs or specialized tools are needed.
Once you have a clear understanding of the damage, you can proceed to determine the most suitable repair method. The methods will vary depending on the type of ring, materials used, and the severity of the breakage. It’s crucial to choose the right technique to ensure a successful repair and preserve the integrity of the ring.
Remember, assessing the damage is a crucial step in fixing a broken ring. Taking the time to thoroughly evaluate the condition of your ring will enable you to make informed decisions about the repair process, whether you choose to tackle it yourself or seek professional help.
Table: Common Types of Ring Damage
| Type of Damage | Repair Method |
|---|---|
| Cracked or broken band | Soldering or resizing |
| Loose or missing stones | Stone replacement or resetting |
| Bent or damaged prongs | Prong repair or replacement |
Remember, assessing the damage is a crucial step in fixing a broken ring.
By accurately evaluating the damage, you can determine whether the repair is within your skill level and if it’s possible to fix the ring at home. However, if the damage is extensive or if you’re unsure about your abilities, it’s always advisable to seek professional help from a trusted jeweler. They have the expertise and specialized tools to handle complex repairs effectively.
Gather the Necessary Tools and Supplies
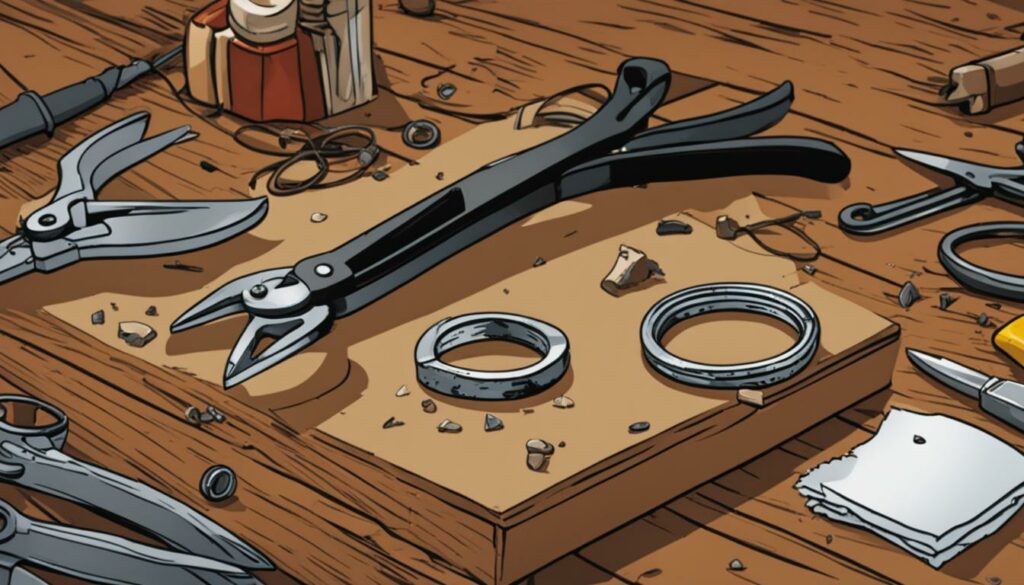
Before you begin the process of repairing your broken ring, it is important to gather all the necessary tools and supplies. Having the right equipment at hand will make the repair process much smoother and more efficient. Here are some essential tools and materials you will need:
- Pliers: These will be useful for manipulating and holding the ring in place during the repair.
- Jeweler’s saw: This tool is necessary if you need to cut the ring for resizing or other repairs.
- File: A file will help you smooth any rough edges or surfaces after the repair.
- Adhesive: Depending on the type of repair, you may need adhesive to bond the broken pieces together.
- Replacement parts: If your ring requires any replacement parts, such as a missing stone or a new band, be sure to have them on hand.
By ensuring you have all these tools and supplies ready before starting the repair, you can save time and avoid any interruptions during the process.
Table: Necessary Tools and Supplies for Ring Repair
| Tool/Supply | Description |
|---|---|
| Pliers | Used for manipulating and holding the ring during the repair process. |
| Jeweler’s saw | Required for cutting the ring in case of resizing or other repairs. |
| File | Used to smooth rough edges or surfaces after the repair. |
| Adhesive | Necessary for bonding broken pieces together, if applicable. |
| Replacement parts | Includes missing stones or new bands, depending on the repair required. |
Having these tools and supplies readily available will give you the confidence and convenience to successfully repair your broken ring at home.
Cleaning the Broken Ends
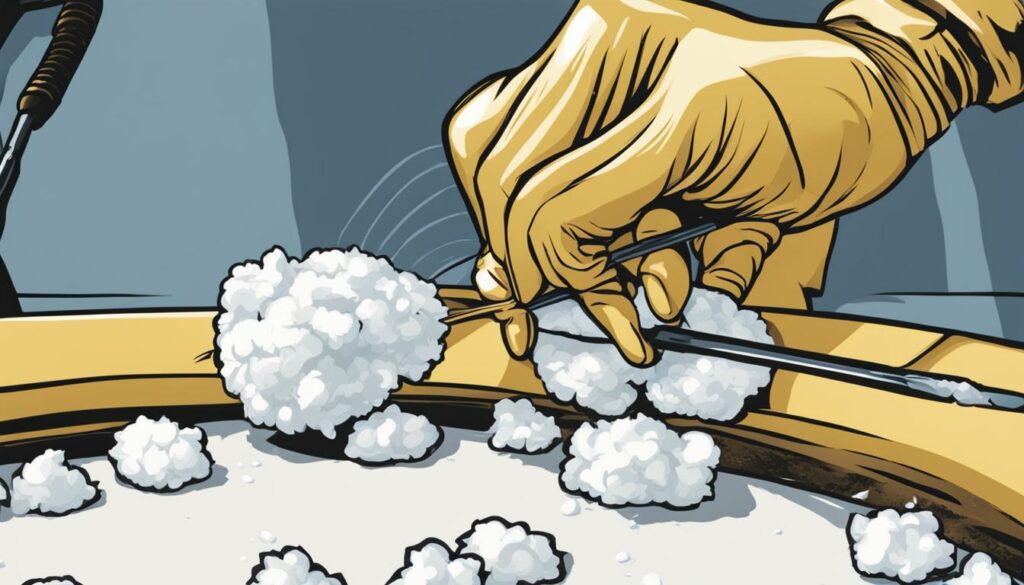
Before proceeding with the repair of your broken ring, it is important to ensure that the broken ends are clean and free from any dirt or debris. Cleaning the broken ends will help prepare the ring for repair and ensure a proper bond between the pieces.
To clean the broken ends, you can use a soft cloth or a gentle cleaning solution. Gently wipe the broken ends to remove any grime or buildup. If there is stubborn dirt or debris, you can use a soft brush or a toothpick to carefully remove it. Be careful not to apply too much pressure, as this could further damage the ring.
Once the broken ends are clean, make sure to rinse them with water to remove any cleaning solution residue. Use a clean, dry cloth to pat them dry before proceeding with the repair. Cleaning the broken ends will help ensure a successful repair and improve the overall appearance of the ring.
| Step | Procedure |
|---|---|
| 1 | Inspect the broken ends of the ring to assess the level of dirt and debris. |
| 2 | Use a soft cloth or a gentle cleaning solution to wipe the broken ends and remove any grime. |
| 3 | If necessary, use a soft brush or a toothpick to carefully remove stubborn dirt or debris. |
| 4 | Rinse the broken ends with water to remove any cleaning solution residue. |
| 5 | Pat the broken ends dry with a clean, dry cloth before proceeding with the repair. |
“Cleaning the broken ends of the ring is an essential step in the repair process. By removing dirt and debris, you ensure a clean surface for the repair, resulting in a stronger and more aesthetically pleasing outcome.”
Choosing the Right Repair Method
When it comes to fixing a broken ring, it’s important to choose the right repair method for the type and severity of the damage. Here are some common options:
Soldering the Ring
If the break in your ring is clean and the pieces fit together well, soldering can be a reliable repair option. This technique involves using heat to melt a metal alloy, such as silver or gold solder, to create a strong bond between the broken ends.
Resizing the Ring
If your ring is too small or too large, resizing it may be necessary. This process involves cutting the band and adding or removing a section to achieve the desired size. Once the resizing is complete, the band is soldered back together for a seamless finish.
Other Repair Options
In some cases, soldering or resizing may not be suitable. For example, if the ring has intricate designs or gemstone settings near the break, a different repair approach might be needed. Consulting a professional jeweler will help determine the best course of action for your specific ring.
Before attempting any repair method, it’s crucial to assess the damage and consider your own skill level. If you’re unsure or uncomfortable with the repair process, it’s always best to seek professional help to ensure the integrity of your cherished piece of jewelry. Remember, with the right repair method, you can restore your broken ring to its former beauty.
| Repair Method | Description |
|---|---|
| Soldering | Melting metal alloy to create a strong bond between broken ends |
| Resizing | Modifying the size of the ring by cutting and soldering the band |
| Other Options | Alternative approaches depending on complex designs or settings |
Soldering the Broken Ends
When it comes to fixing a broken ring, one popular method is soldering. Soldering involves using heat and a soldering flux to join the broken ends of the ring, creating a strong bond. This technique is particularly effective for rings made of metals such as gold or silver. With some patience and the right tools, you can successfully repair your broken ring using soldering.
To begin, gather your soldering tools, including a jeweler’s torch, soldering flux, and solder wire. Make sure you are in a well-ventilated area and have proper safety measures in place. Align the broken ends of the ring as accurately as possible, ensuring a tight and secure fit.
Remember to take your time and work carefully, as soldering requires precision.
Apply a small amount of soldering flux to the broken ends of the ring. The flux helps to prevent oxidation and ensures a clean solder joint. Using your jeweler’s torch, carefully heat the flux and solder wire until they melt and flow into the gap between the broken ends. Allow the ring to cool and then clean off any excess flux or solder residue. Your broken ring should now be securely soldered back together.
Benefits of Soldering
- Soldering creates a strong and durable bond, ensuring that your repaired ring withstands everyday wear and tear.
- This technique allows for precise alignment and positioning of the broken ends, resulting in a seamless repair.
- Soldering is a cost-effective repair method that can save you money compared to purchasing a new ring or seeking professional help.
Important Considerations
While soldering can be an effective way to fix a broken ring, it’s important to note that this technique requires some skill and experience to execute properly. If you’re unsure about your soldering abilities or if the damage to your ring is extensive, it’s best to consult a professional jeweler for assistance. They have the expertise and specialized tools to ensure a successful repair.
Now that you understand the soldering technique, you’re ready to tackle the repair process and restore your broken ring to its former glory.
Resizing the Ring
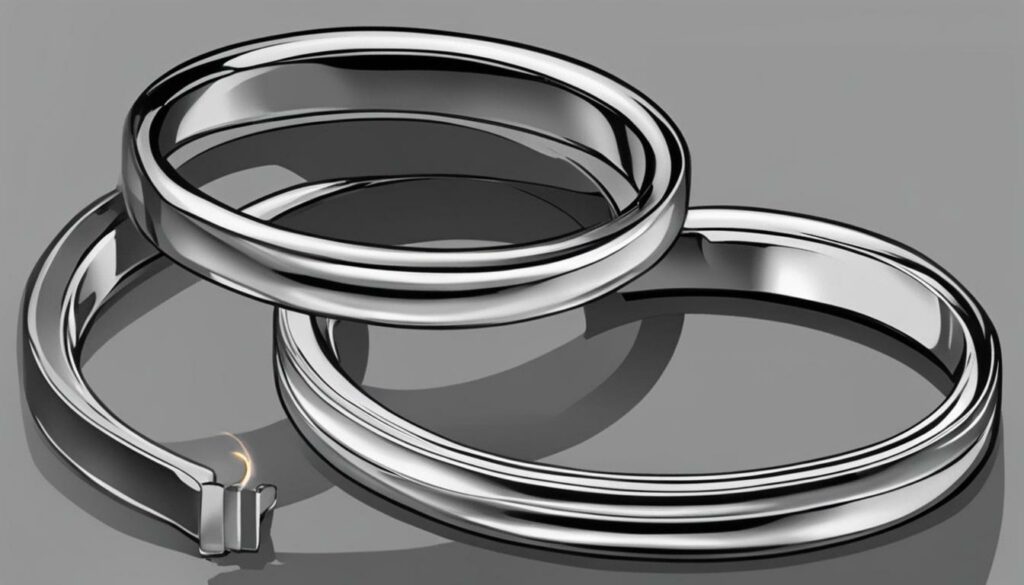
When it comes to fixing a broken ring, resizing is often necessary to ensure the perfect fit. Whether your ring is too big or too small, adjusting its size can be done at home with the right techniques and tools. Resizing a ring involves cutting the band and adding or removing a section, then soldering it back together. Let’s explore the step-by-step process below:
Resizing Technique
- First, determine how much the ring needs to be resized. If it’s too big, you’ll need to cut a section out of the band. If it’s too small, you’ll need to add a section.
- Using a jeweler’s saw, carefully cut the band where the resizing needs to occur. Take caution and ensure a straight cut to maintain the ring’s aesthetic.
- If you need to make the ring smaller, remove a section of the band. This can be done by cutting out a small piece or by bending the ends closer to each other, creating a smaller circumference.
- If you need to make the ring larger, add a section to the band by carefully soldering in an extra piece of metal. Ensure a seamless connection by applying soldering flux and using a jeweler’s torch.
- After making the necessary adjustments, use a file to smooth out any rough edges and create a clean, finished look.
- Finally, polish the resized area to match the rest of the ring and give it a shiny finish.
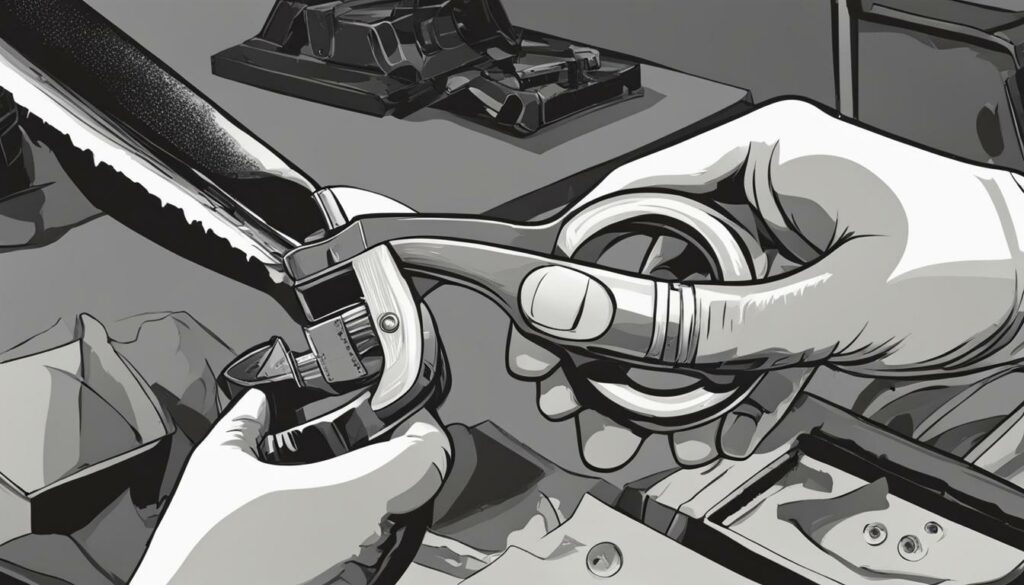
Remember, resizing a ring requires precision and skill. If you are unsure about performing this task yourself, it’s always best to consult a professional jeweler. They have the expertise and tools to ensure the resizing is done correctly without compromising the integrity of your ring.
Resizing a ring can give new life to a beloved piece of jewelry. Whether you’re adjusting it to fit your finger better or repurposing it to be worn on a different finger, the process can be both practical and rewarding. Just make sure to follow the proper techniques and take your time to achieve the desired result.
Replacing Missing Stones
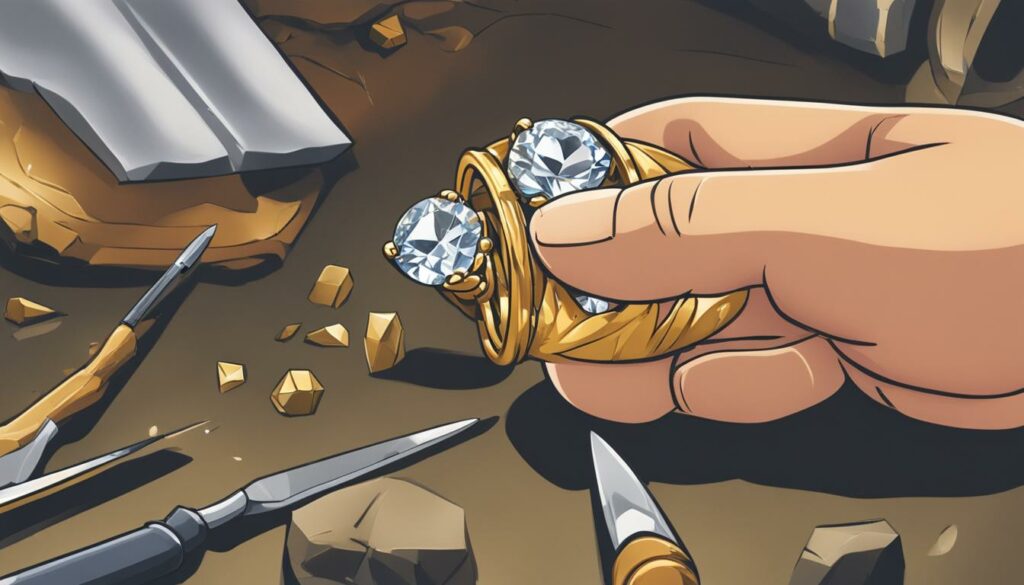
If your ring has a missing stone, there is no need to worry. You can easily replace it yourself using stone setting techniques. By following these simple steps, you can restore your ring to its original beauty.
- First, select a suitable replacement stone that matches the size and color of the missing one. You can find a variety of gemstones at jewelry supply stores or online retailers.
- Gently clean the area where the stone will be set, ensuring it is free from any debris or residue. Use a soft cloth or a mild jewelry cleaning solution.
- Apply a small amount of jeweler’s adhesive to the base of the replacement stone.
- Using a pair of jewelry tweezers, carefully position the stone in its designated spot and press down gently to secure it in place. Take care not to use excessive force to avoid damaging the stone or the surrounding setting.
- Allow the adhesive to dry completely before wearing the ring. Follow the manufacturer’s instructions for the recommended drying time.
| Stone Setting Techniques | Advantages | Disadvantages |
|---|---|---|
| Prong Setting | – Allows maximum light exposure for the stone – Easy to clean and maintain |
– Prongs may snag on clothing or other objects – Requires regular inspection to ensure prongs are secure |
| Bezel Setting | – Provides excellent security for the stone – Protects the edges of the stone from chipping or breaking |
– May obscure some portions of the stone, reducing its visibility – Requires more effort to clean and maintain |
Remember to choose the stone setting technique that best suits your ring and personal preference. Prong settings are popular for their elegant appearance, while bezel settings offer added security. Take into consideration the type of stone and the overall design of your ring when making your selection.
Replacing a missing stone in your ring is a simple and rewarding task. With a little patience and careful handling, you can restore its beauty and enjoy wearing it once again.
Polishing and Finishing Touches
Once the repair is complete, it’s time to give your ring the final touches that will make it shine. Polishing your ring not only enhances its appearance, but also helps in removing any remaining scratches or marks from the repair process. Follow these steps to achieve a professional finish:
- Clean the ring: Before polishing, make sure to clean the ring thoroughly. Use a soft cloth or a specialized jewelry cleaning solution to remove any dirt, grime, or residue that may have accumulated during the repair.
- Choose the right polish: Depending on the material of your ring, select a suitable polish. For gold or silver rings, you can use a jewelry polishing cloth or a mild metal polish. If your ring has gemstones, make sure the polish is safe for both the metal and the stones.
- Apply the polish: Take a small amount of polish onto a soft cloth and gently rub it onto the surface of the ring. Use circular motions to cover the entire area, paying attention to any intricate details or engraved patterns.
- Buff and shine: After applying the polish, use a clean section of the cloth to buff the ring and remove any excess polish. Continue buffing until the ring achieves a radiant shine and all scratches or imperfections are minimized.
Remember, polishing should be done with care and moderation. Avoid excessive force or abrasive materials that may damage the ring. Take your time and pay attention to detail to achieve the desired results. With proper polishing and finishing touches, your repaired ring will look as good as new.
Table: Recommended Polishing Methods
| Ring Material | Recommended Polishing Method |
|---|---|
| Gold | Use a jewelry polishing cloth or mild metal polish. |
| Silver | Use a jewelry polishing cloth or mild metal polish. |
| Platinum | Use a jewelry polishing cloth or specialized platinum polish. |
| Stainless Steel | Use a jewelry polishing cloth or stainless steel polish. |
Keep in mind that this table showcases general recommendations, and it’s always best to consult the specific manufacturer’s recommendations for polishing your ring material. By following these polishing steps and using the appropriate method, you can add the perfect finishing touch to your repaired ring and make it shine.
Preventing Future Damage
Once you have successfully fixed your broken ring, it’s important to take steps to prevent future damage and keep it in good condition. Here are some ring care tips to help you maintain its beauty and longevity:
1. Avoid Harsh Chemicals
Avoid exposing your ring to harsh chemicals such as chlorine, bleach, or cleaning agents. These chemicals can damage the metal and gemstones, causing discoloration or even weakening the structure of the ring. Take off your ring when cleaning or using chemicals to prevent potential damage.
2. Remove During Activities
It’s best to remove your ring during activities that could potentially damage it, such as sports, heavy lifting, or gardening. These activities can subject your ring to stress, impact, or abrasion, increasing the risk of damage. Keep your ring safe by taking it off before engaging in these activities.
3. Store Properly
When you’re not wearing your ring, store it in a safe and secure place. Avoid leaving it loose on the countertop or in an open jewelry box where it can be easily scratched or misplaced. Consider using a ring holder or a soft pouch to protect it from dust, scratches, and other potential damage.
4. Regular Cleaning and Inspection
Regularly clean your ring to remove dirt, oils, and other debris that can accumulate over time. Use a soft brush, mild soap, and warm water to gently clean your ring. Additionally, inspect your ring periodically to check for loose stones, worn prongs, or any signs of damage. Taking preventative measures and addressing any issues early can help prevent further damage.
By following these ring care tips, you can keep your repaired ring looking beautiful and ensure its durability for years to come.
Seeking Professional Help
If you are unsure about fixing your broken ring yourself or if the damage is extensive, it’s best to seek professional help. A skilled jeweler can assess the situation and provide expert repair services. They have the knowledge and experience to handle delicate repairs and ensure your ring is restored to its original condition.
Professional ring repair can be beneficial in several ways:
- Expert Assessment: A professional jeweler can accurately assess the extent of damage to your ring and determine the best course of action for repair.
- Precise Techniques: Professional jewelers have access to specialized tools and techniques that may not be available to individuals attempting DIY repairs.
- Quality Materials: Jewelers have access to high-quality materials, such as replacement stones or precious metals, ensuring a durable and long-lasting repair.
- Guaranteed Work: Many professional jewelers offer warranties or guarantees on their repair work, providing you with peace of mind.
Knowing when to consult a jeweler is crucial to ensure the safety and integrity of your ring. If you are unsure about your repair abilities or if the damage is significant, it’s better to err on the side of caution and seek professional assistance. Remember, a professional can not only repair your ring but also offer advice on maintenance and preventive measures to avoid future damage.

Tips for Choosing a Professional Jeweler
If you decide to seek professional help for your ring repair, consider the following tips for choosing a reputable jeweler:
- Experience: Look for a jeweler with extensive experience in ring repair. Ask for recommendations from friends or family or read online reviews.
- Credentials: Check if the jeweler has any certifications or memberships with professional organizations, as this indicates their commitment to quality.
- Communication: Choose a jeweler who listens to your concerns and provides clear explanations of the repair process and costs involved.
- Price Transparency: Request a detailed estimate for the repair work, including any additional costs for materials or labor. Ensure there are no hidden fees.
- Timeline: Inquire about the estimated timeline for completion of the repair. A reputable jeweler should be able to provide a reasonable timeframe.
By following these tips, you can find a skilled professional jeweler who will provide excellent repair services and give your broken ring the attention it deserves.
Understanding Repair Costs
When it comes to repairing a broken ring, one important factor to consider is the cost. The price of ring repair can vary depending on the extent of the damage and the materials used. It’s important to have a clear understanding of the repair costs before proceeding with the repair process.
Professional jewelers typically charge for their services based on the complexity and time required for the repair. Basic repairs such as soldering broken ends or resizing the ring may have a lower cost compared to more intricate repairs like replacing missing stones or intricate engravings.
Another factor that can influence the cost is the type of materials used for the repair. For example, using high-quality materials such as gold or platinum for soldering or stone replacements may result in a higher cost compared to using less expensive materials.
| Repair Service | Estimated Cost |
|---|---|
| Basic Soldering | $50 – $100 |
| Resizing | $70 – $150 |
| Stone Replacement | $100 – $300 (depends on stone type and size) |
| Engraving Restoration | $150 – $500 (depends on complexity) |
Keep in mind that these are estimated costs and can vary depending on the jeweler and your specific repair requirements. It is always recommended to reach out to a reputable jeweler and get a price estimate based on your ring’s unique repair needs.
By understanding the potential costs involved in repairing your broken ring, you can budget accordingly and make an informed decision on whether to proceed with the repair yourself or seek professional help.
DIY Ring Repair Tips and Tricks
When it comes to fixing a broken ring at home, having a few tips and tricks up your sleeve can make the process much smoother. Here are some helpful suggestions to ensure a successful DIY ring repair:
Gather the Right Tools
Before you embark on your ring repair journey, make sure you have all the necessary tools at hand. These may include pliers, a jeweler’s saw, a file, adhesive, and any replacement parts needed. Having the right tools will not only make the repair process easier but also increase your chances of achieving a professional-looking result.
Practice Patience
Repairing a broken ring can be a delicate and intricate task, so it’s important to approach it with patience. Take your time to align the broken ends, apply the adhesive or solder carefully, and ensure everything is securely in place before moving on to the next step. Rushing the process may lead to mistakes or a less durable repair.
Use Adhesive Sparingly
When using adhesive to fix your ring, less is often more. Apply a small amount of adhesive to the broken ends and press them firmly together, allowing the adhesive to set according to the manufacturer’s instructions. Using too much adhesive can lead to excess residue or a messy appearance, so be sure to use it sparingly.
By following these DIY ring repair tips and tricks, you can confidently tackle the task and restore your broken ring to its former glory. Remember to gather the right tools, practice patience throughout the process, and use adhesive sparingly for the best results.
Common Mistakes to Avoid
When attempting to repair a broken ring, it’s important to be aware of common mistakes that can hinder your progress. By avoiding these errors, you can increase your chances of successfully fixing your ring and achieving the desired results. Here are some key mistakes to watch out for:
Using Excessive Force
One of the most common mistakes people make when trying to repair a broken ring is using excessive force. Applying too much pressure or tugging too hard on the ring can further damage it and make the repair process more challenging. It’s crucial to handle the ring with care and use gentle, controlled movements to avoid causing additional harm.
Using Incorrect Tools
Using the wrong tools for ring repair can lead to subpar results or even irreversible damage. It’s essential to use appropriate tools specifically designed for jewelry repair, such as pliers, a jeweler’s saw, or a file. Using makeshift tools or those not intended for the task can cause more harm than good and may compromise the integrity of the ring.
Rushing the Process
Repairing a broken ring requires patience and attention to detail. Rushing through the process can lead to mistakes and substandard repairs. Take your time to assess the damage, gather the necessary tools and supplies, and carefully follow the repair steps. By being patient and thorough, you can increase the likelihood of a successful repair.
Not Seeking Professional Help When Needed
While DIY ring repair can be a rewarding endeavor, there are instances where it’s best to seek professional help. If the damage is extensive, beyond your skill level or if you’re uncertain about the repair process, consulting a professional jeweler is advisable. They have the expertise and specialized tools to handle complex repairs and ensure the longevity of your ring.
Avoiding these common mistakes will help you navigate the ring repair process with confidence and increase your chances of achieving a successful outcome. Remember to approach the repair with patience, attention to detail, and, when necessary, the support of a professional jeweler.
Final Thoughts on Fixing a Broken Ring
Repairing a broken ring at home can be a rewarding DIY project that allows you to restore your precious jewelry without the need for professional assistance. By following the right steps and using the appropriate tools and techniques, you can successfully fix your broken ring and give it a new lease on life.
As a final reminder, it is crucial to assess the damage to your ring before starting the repair process. This will help you determine whether the repair can be done on your own or if it requires the expertise of a professional jeweler. Additionally, choosing the right repair method is essential to ensure a successful outcome.
Here are some final tips to keep in mind:
- Take your time: Repairing a broken ring requires patience and precision. Rushing through the process can lead to mistakes or further damage. Take breaks when needed and approach each step with care.
- Use the right tools: Having the necessary tools and supplies on hand is crucial for a successful repair. Make sure to gather pliers, a jeweler’s saw, a file, adhesive, and any replacement parts needed before you begin.
- Prevent future damage: Once you have fixed your broken ring, take steps to prevent future damage. Avoid wearing it during activities that could cause stress or impact, regularly clean and inspect it, and consider removing your ring before engaging in physical activities.
Remember, if you ever feel unsure about fixing your broken ring yourself or if the damage is extensive, it’s always best to seek professional help. A skilled jeweler can assess the situation and provide expert repair services to ensure your ring is restored to its former glory.
Conclusion
In conclusion, repairing a broken ring at home can be a fulfilling and cost-effective DIY project. By following the proper steps and using the right tools and techniques, you can successfully fix your ring and restore it to its former beauty.
Remember to assess the damage and determine the appropriate repair method, whether it’s soldering the broken ends, resizing the ring, or replacing missing stones. Take your time and exercise caution throughout the process to avoid common mistakes that can further damage your ring.
If you are uncertain about fixing your ring yourself or if the damage is extensive, it’s always wise to seek professional help. A skilled jeweler can provide expert assistance and ensure that your ring is repaired correctly.
Now that you have the knowledge and confidence to repair your broken ring, go ahead and give it a try. With patience, careful attention to detail, and a little bit of DIY spirit, you can bring your beloved piece of jewelry back to life.
FAQ
Can I fix a broken ring myself?
Yes, you can fix a broken ring yourself by following the appropriate steps and using the right tools and techniques.
How do I assess the damage on my broken ring?
To assess the damage on your broken ring, carefully examine it to determine the extent of the damage and whether it can be easily fixed or if professional help is needed.
What tools and supplies do I need for ring repair?
Some of the tools and supplies you may need for ring repair include pliers, a jeweler’s saw, a file, adhesive, and any replacement parts that may be necessary.
How should I clean the broken ends of the ring before starting the repair?
Before starting the repair process, make sure to clean the broken ends of the ring using a soft cloth or a gentle cleaning solution to remove any dirt or debris.
What are the different repair methods for a broken ring?
The repair method for a broken ring can vary depending on the type and severity of the damage. Common options include soldering the broken ends together or resizing the ring to fit properly.
How do I solder the broken ends of a ring?
To solder the broken ends of a ring, carefully align them and apply a small amount of soldering flux. Use a jeweler’s torch to heat the flux and solder until they melt, creating a strong bond.
Can I resize a ring to make it fit properly?
Yes, you can resize a ring to make it fit properly. This may involve cutting the band and adding or removing a section, then soldering it back together.
How can I replace a missing stone in my ring?
To replace a missing stone in your ring, choose a suitable replacement stone and carefully set it in place using prongs or bezel settings.
How do I polish my repaired ring to make it shine?
Once the repair is complete, you can give your ring a final polish to make it shine. Use a jewelry polishing cloth or a specialized cleaning solution to bring back its luster.
How can I prevent future damage to my repaired ring?
To prevent future damage to your repaired ring, avoid wearing it during activities that could cause stress or impact, and regularly clean and inspect it for signs of wear.
When should I seek professional help for ring repair?
If you are unsure about fixing your broken ring yourself or if the damage is extensive, it’s best to seek professional help. A skilled jeweler can assess the situation and provide expert repair services.
How much does ring repair cost?
The cost of repairing a broken ring can vary depending on the extent of the damage and the materials used. Contact a jeweler for a price estimate based on your specific repair needs.
Do you have any tips and tricks for DIY ring repair?
Yes, some tips and tricks for successfully repairing your ring at home include using adhesive sparingly, taking breaks when needed, and having patience throughout the process.
What are some common mistakes to avoid when fixing a broken ring?
When attempting to repair a broken ring, it’s important to avoid common mistakes such as using excessive force, using incorrect tools, or rushing the process.
Can I fix a broken ring at home?
Yes, fixing a broken ring at home is possible with the right tools and techniques. Remember to assess the damage, choose the appropriate repair method, and take necessary precautions to prevent future damage. If in doubt, consult a professional jeweler for assistance.
Source Links
- https://www.kernowcraft.com/jewellery-making-tips/jewellery-making-basics/everything-you-need-to-repair-broken-jewellery-at-home
- https://en.flammeenrose.com/blogs/nouvelles/reparer-bague-cassee
- https://www.hattonjewels.com/fixing-a-broken-wedding-ring-how-to-repair-and-restore-your-ring/

Hey lovely readers! My name is Chantal and I am obsessed with everything accessory and jewelry. My husband (and best friend) John and I, have been writing content for this blog for over 4 years now started the RTP store with over 4000 curated accessories and jewelry. We are traveling around the world to find the latest products, negotiate the best prices and find the best quality for our readers. We have managed to make our passion for feeling and looking good into our work. We are always open to new product suggestion, improvements or feedback. If you would like to chitchat with me, email me here!
