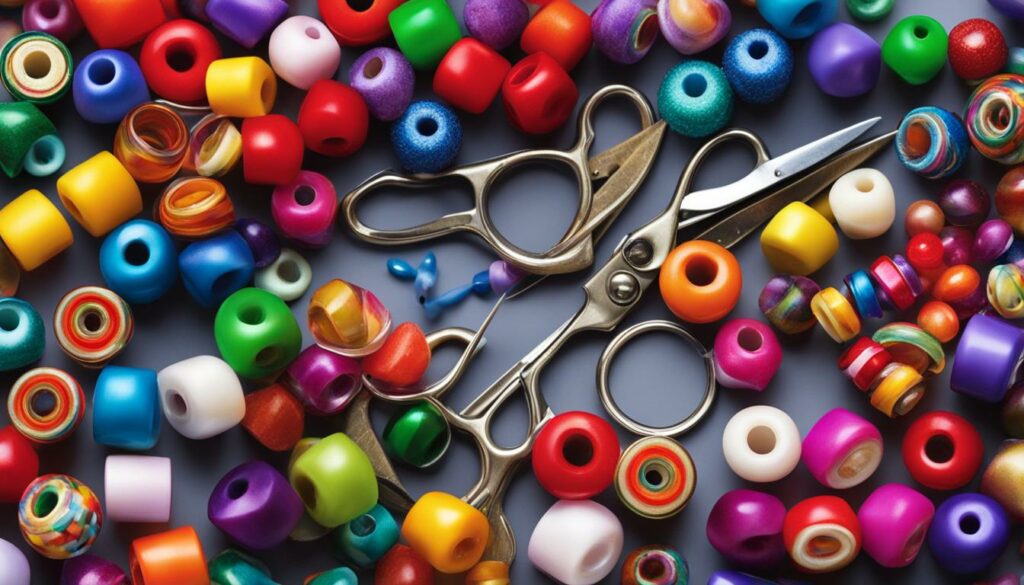
Making a bracelet with elastic cord is a fun and easy DIY project that anyone can enjoy. In this step-by-step guide, I will show you how to create a beautiful bracelet using elastic cord. Whether you’re a beginner or have some experience with bracelet making, this tutorial will guide you through the process. So, let’s dive in and discover how to make your very own bracelet with elastic cord!
Why Make a Bracelet with Elastic Cord?
There are several benefits to making a bracelet with elastic cord. First, elastic cord is stretchy, making the bracelet comfortable to wear and easy to put on and take off. It provides a secure and snug fit that adjusts to your wrist size. Whether you have a small or large wrist, elastic cord ensures a perfect fit every time.
In addition to its stretchiness, elastic cord is a versatile material that can accommodate a variety of bead sizes and styles. Whether you prefer small seed beads or larger statement beads, elastic cord can handle it all. This makes it easy to create bracelets with different bead combinations and designs. You have the freedom to customize your bracelet according to your personal style and preferences.
Another reason to use elastic cord for bracelets is its flexibility in design. Unlike rigid materials such as metal or wire, elastic cord allows for movement and comfort. You can create bracelets that are not only fashionable but also comfortable to wear throughout the day. Elastic cord bracelets are lightweight and have a gentle, flexible feel on your wrist.
| Benefits of Making a Bracelet with Elastic Cord |
|---|
| Comfortable and easy to put on and take off |
| Versatile material that can accommodate various bead sizes and styles |
| Flexibility in design allows for unique and personalized creations |
Supplies Needed for Making a Bracelet with Elastic Cord
Making a bracelet with elastic cord requires a few essential supplies. Here is a list of the materials you will need:
- Elastic beading cord: This is the main component of your bracelet. Choose a size that suits your beads and desired level of stretchiness.
- Beads: Select beads of your choice, such as seed beads or plastic pony beads. Consider the size, shape, and color that suit your design.
- Beading tray: Use a beading tray to organize your beads and prevent them from rolling around.
- Bead stopper or binder clip: These tools are essential for securing your elastic cord and preventing beads from sliding off.
- Large eye beading needle or beading wire: Depending on the size of your beads, you may need a needle or beading wire to string them onto the elastic cord.
- Jewelry glue: A small amount of jewelry glue, such as G-S Hypo Cement, can be used to secure knots and add extra strength to your bracelet.
- Crimp bead covers (optional): If you prefer a more polished look, you can use crimp bead covers to hide knots and provide a neat finish to your bracelet.
Having these supplies ready will ensure a smooth and enjoyable bracelet-making process. Now that you have everything you need, let’s move on to choosing the right beads for your bracelet.
Table: Supplies Needed for Making a Bracelet with Elastic Cord
| Supply | Description |
|---|---|
| Elastic beading cord | Main component of the bracelet |
| Beads | Choose beads of your choice, such as seed beads or plastic pony beads |
| Beading tray | Organize beads and prevent them from rolling |
| Bead stopper or binder clip | Secures elastic cord and prevents beads from sliding off |
| Large eye beading needle or beading wire | Assists in stringing beads onto elastic cord |
| Jewelry glue | Adds strength and security to knots |
| Crimp bead covers (optional) | Provides a neat finish |
Choosing the Right Beads for Your Bracelet
When it comes to making a bracelet with elastic cord, choosing the right beads is key to creating a visually appealing and durable piece of jewelry. There are various types of beads available, each with its own characteristics and styles. Here are some factors to consider when selecting beads for your elastic cord bracelet.
Bead Size: The size of the beads will determine the overall look and feel of your bracelet. Smaller beads, such as seed beads, are perfect for delicate and intricate designs, while larger beads can create a bold and eye-catching statement bracelet.
Bead Material: Beads come in a wide range of materials, including glass, plastic, wood, metal, and gemstones. Glass beads offer a beautiful and vibrant color selection, while plastic beads are lightweight and come in various shapes and designs. Wood and metal beads add a natural and rustic touch to your bracelet, while gemstone beads provide an elegant and luxurious feel.
Hole Diameter: The hole diameter of the beads is crucial when using elastic cord for your bracelet. Make sure the bead holes are large enough to fit the chosen cord comfortably. Otherwise, you may struggle to string the beads or risk damaging the cord.
By carefully considering these factors, you can choose beads that not only match your personal style but also ensure a secure and long-lasting elastic cord bracelet.
| Bead Type | Size | Material | Hole Diameter |
|---|---|---|---|
| Seed Beads | Small to medium | Glass | Varies |
| Pony Beads | Medium to large | Plastic | 3-4mm |
| Wooden Beads | Medium to large | Wood | 3-4mm |
| Metal Beads | Small to large | Metal | Varies |
| Gemstone Beads | Small to large | Gemstone | Varies |
Choosing the Right Elastic Cord for Your Bracelet
When it comes to making bracelets with elastic cord, choosing the right type of cord is essential for ensuring the longevity and quality of your jewelry. There are different types of elastic cord available, each with its own characteristics and advantages. Let’s explore the best elastic cords for bracelets and the types of cords commonly used in jewelry making.
One popular choice for elastic cord is stretch cord. This single-strand rubbery cord is stretchy, durable, and comes in various sizes and colors. Stretch floss, also known as stretch fiber, is another option. This strong, fibrous cord is less prone to stretching out over time, making it ideal for bracelets that need to maintain their shape. Additionally, fabric-covered elastic cord provides a thicker and more decorative option, available in a range of colors.
When selecting the diameter of your elastic cord, consider the size and weight of your beads. If you’re working with lighter beads, a thinner cord will suffice. However, for heavier beads, it’s best to choose a thicker cord to provide adequate support. Taking these factors into account will ensure the durability and comfort of your elastic cord bracelet.
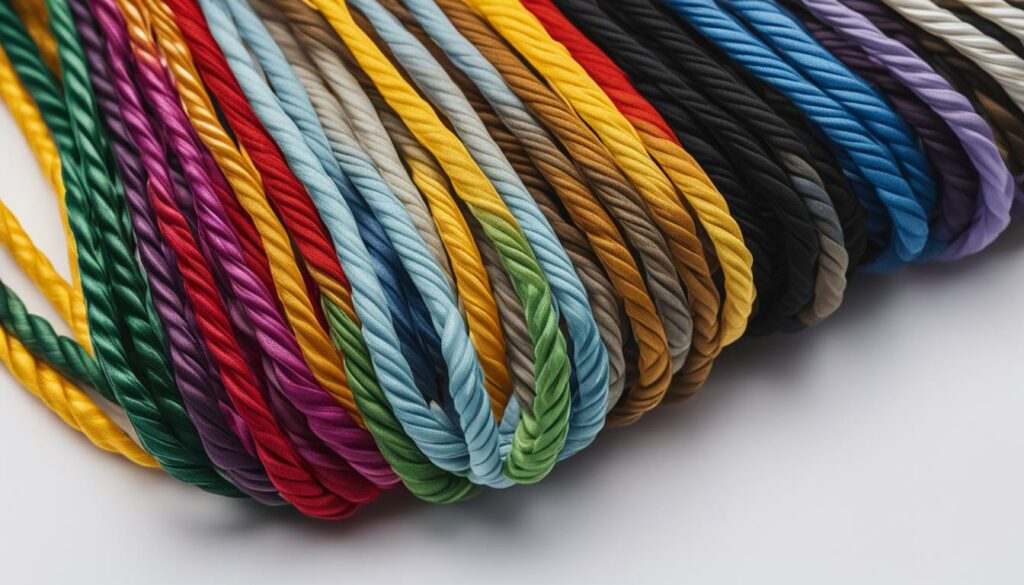
Comparison of Elastic Cord Types
| Elastic Cord Type | Characteristics | Best for |
|---|---|---|
| Stretch Cord | Stretchy, durable, available in various colors and sizes | Lightweight beads |
| Stretch Floss | Strong, fibrous, less prone to stretching out | Bracelets that need to maintain their shape |
| Fabric-Covered Elastic Cord | Thicker, decorative, available in a range of colors | Bracelets requiring a more decorative look |
Summary:
Choosing the right elastic cord is essential for creating high-quality and durable bracelets. Stretch cord, stretch floss, and fabric-covered elastic cord are popular choices, each with its own advantages. Consider the size and weight of your beads when selecting the diameter of your cord. By making the right choice, you can ensure that your elastic cord bracelets are comfortable, stylish, and long-lasting.
Preparing the Elastic Cord and Beads
Before starting the bracelet-making process, it is important to properly prepare the elastic cord and beads to ensure a successful and durable bracelet. Here are a few steps to follow:
- Pre-stretch the elastic cord: To prevent overstretching in the future, it is recommended to pre-stretch the elastic cord. Hold a section of the cord between your fingers and stretch it out a few times, moving along the entire length. This will help the cord maintain its elasticity and shape.
- Arrange your beads: Before stringing the beads onto the cord, gather all your beads and arrange them in the desired order. This will help you visualize your design and make it easier to string the beads.
By pre-stretching the elastic cord and arranging your beads, you can ensure that your bracelet-making process goes smoothly and that your finished bracelet will be secure and comfortable to wear.
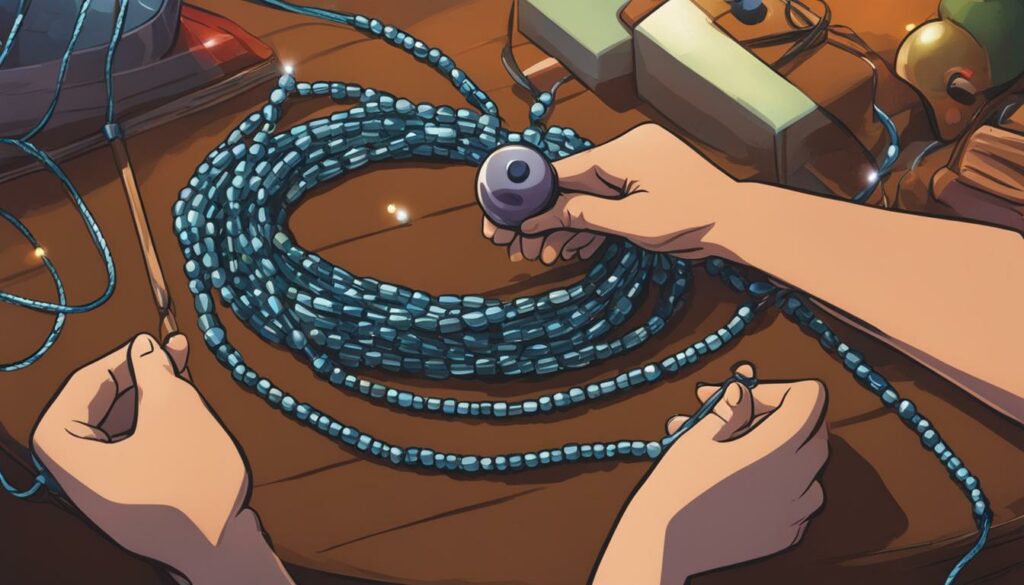
Example: Bead Arrangement
| Bead Type | Color | Size |
|---|---|---|
| Seed Beads | Blue | 2mm |
| Faceted Glass Beads | Clear | 6mm |
| Letter Beads | Black | 7mm |
| Spacer Beads | Silver | 4mm |
I love experimenting with different combinations of beads to create unique and personalized bracelets. By arranging the beads before stringing them onto the elastic cord, I can easily see how they will look together and make any adjustments to achieve the desired design.
Once the elastic cord is pre-stretched and the beads are arranged, you are ready to start stringing them onto the cord and create your beautiful bracelet. Remember to take your time and enjoy the process!
Stringing the Beads onto the Cord
To create your beautiful elastic cord bracelet, it’s time to start stringing the beads onto the cord. This step is where your creativity really shines as you choose the order and combination of beads that will make your bracelet unique.
Start by threading the first bead onto the elastic cord. If the bead holes are large enough, you can easily string them by hand. For smaller bead holes, a beading needle or folded beading wire can assist in the process. Slide each bead onto the cord, starting with the bead that has the largest hole, and continue adding beads until you reach the desired length.
Throughout the stringing process, it’s helpful to periodically check the length by wrapping the beaded cord around your wrist. This ensures that the bracelet will fit comfortably and not be too tight or too loose. Adjust the number of beads as needed to achieve the perfect fit for your wrist.
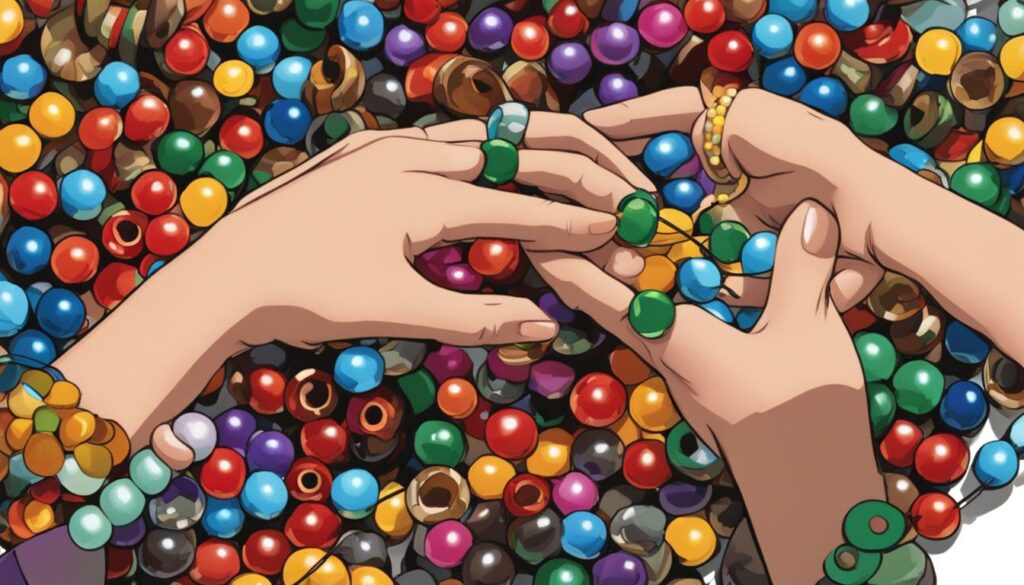
Table: Bead Stringing Techniques
| Technique | Description |
|---|---|
| By Hand | String beads onto elastic cord using your fingers. |
| Beading Needle | Use a thin beading needle to thread beads with smaller holes. |
| Folded Beading Wire | Insert a folded piece of beading wire through the bead holes, then slide the beads onto the elastic cord. |
Continue stringing the beads until your bracelet is complete. Remember to be mindful of the overall design and balance of the beads as you progress. Once you’re satisfied with the bead placement, you’re ready to move on to tying the knot and securing the cord.
Tying the Knot and Securing the Cord
Once you have strung enough beads onto the elastic cord, it’s time to tie a knot to secure the cord and prevent the bracelet from coming undone. To ensure a strong and durable knot, fold the elastic cord in half and tie a surgeon’s knot. This type of knot involves looping the ends of the cord over twice, providing added security.
After tying the knot, it’s a good idea to apply a small amount of jewelry glue to further secure the cord. This step will give you peace of mind knowing that your bracelet will stay intact even with regular wear and movement. However, be careful not to use too much glue, as it may seep out and affect the appearance of the bracelet.
In my experience, I’ve found that sliding the knot into the hole of a neighboring bead is a great way to hide it. This not only conceals the knot but also adds a polished and professional finish to the bracelet. Alternatively, if your beads have large holes, you can use a crimp bead cover to hide the knot. These covers are small metal tubes that can be crimped over the knot, creating a seamless look.
When tying the knot and securing the cord, it’s important to work carefully and precisely. Take your time to ensure that the knot is tight and the cord is securely fastened. This will help maintain the integrity of your bracelet and prevent any accidental unraveling.
Now that your bracelet is properly secured, you can move on to the finishing touches to complete your beautiful elastic cord bracelet.
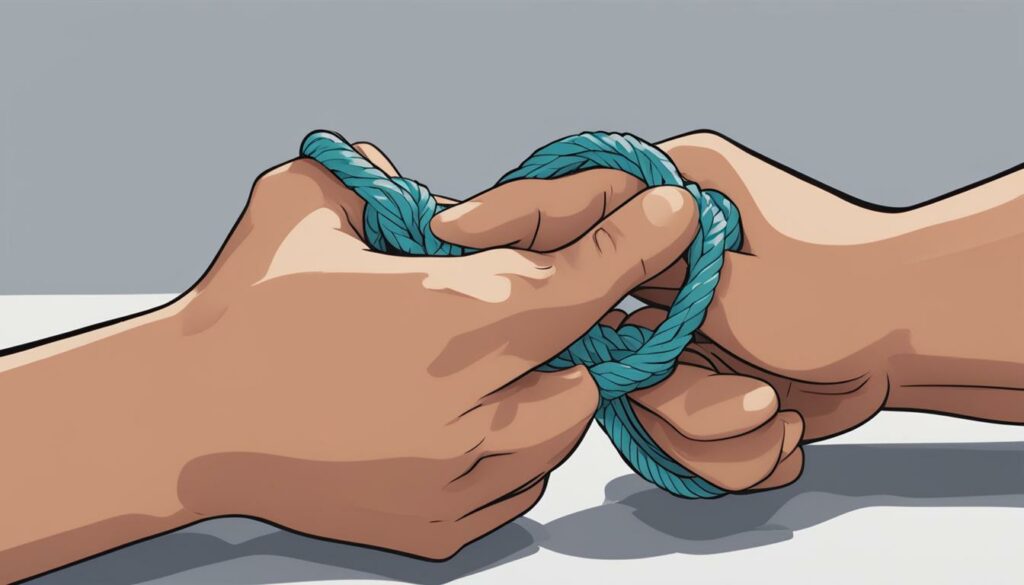
| Step | Action |
|---|---|
| 1 | Fold the elastic cord in half. |
| 2 | Tie a surgeon’s knot by looping the ends of the cord over twice. |
| 3 | Apply a small amount of jewelry glue to the knot. |
| 4 | Slide the knot into the hole of a neighboring bead or use a crimp bead cover to hide it. |
Finishing Touches and Hiding the Knot
After securing the knot on your elastic cord bracelet, it’s time to add the finishing touches and hide the knot for a clean and polished look. To do this, follow these simple steps:
- Trim the excess cord: Using small sharp scissors, carefully trim the excess cord as close to the bead as possible. Be cautious not to cut the bead or the remaining cord.
- Use a crimp bead cover: If the knot is too large to fit into a neighboring bead, you can use a crimp bead cover to conceal it. Simply slide the crimp bead cover over the knot, ensuring it completely covers the knot, and gently squeeze it closed with a pair of pliers.
- Hide the knot inside a bead: Another technique to hide the knot is by sliding it into the hole of a neighboring bead. Apply a small dab of jewelry glue to the knot, slide the adjacent bead over it, and let the glue dry. This method not only hides the knot but also provides additional security.
Whichever method you choose, make sure to handle the cord and beads with care to avoid any damage. Once the knot is hidden and secure, gently stretch each cord end to ensure they are tightly fastened. This will help prevent the bracelet from coming undone while wearing it.
Example of Finishing Techniques:
| Technique | Advantages | Disadvantages |
|---|---|---|
| Trimming the excess cord | – Creates a neat and clean finish – Does not require additional supplies |
– The knot may become visible over time if not completely secure |
| Using a crimp bead cover | – Provides a professional look – Hides the knot completely |
– Requires additional supplies – May be challenging to close the crimp bead cover without proper tools |
| Hiding the knot inside a bead | – Ensures the knot is completely concealed – Adds extra security to the bracelet |
– Requires jewelry glue for added stability – Knot may be challenging to hide in smaller holed beads |
By employing these finishing techniques, you can elevate the overall appearance of your elastic cord bracelet and create a professional-looking piece of jewelry. Take your time and experiment with different methods to find the one that suits your style and design best.
Tips for Making Beaded Stretchy Bracelets
When it comes to making elastic cord bracelets, there are a few tips and recommendations that can help you create beautiful and durable pieces of jewelry. Whether you’re a beginner or have some experience in bracelet making, these tips will come in handy:
- Pre-stretch the elastic cord: Before stringing the beads, it’s important to pre-stretch the elastic cord. This will prevent overstretching in the future and ensure that your bracelet maintains its shape and elasticity.
- Tie a secure knot: When tying the knot to secure the cord, opt for a secure knot like a surgeon’s knot. This knot provides extra durability and prevents the bracelet from coming undone. Adding a small amount of jewelry glue to the knot can also enhance its security.
- Avoid crimp beads: It’s best to avoid using crimp beads with elastic cord bracelets. Crimp beads can cut through the cord over time, leading to breakage. Instead, focus on using beads with smooth edges to prevent fraying of the elastic cord.
- Choose the right beads: Consider the weight and size of the beads when selecting them for your bracelet. Lightweight beads are ideal for elastic cord bracelets as they put less strain on the cord. Additionally, choose beads with large holes that can accommodate the elastic cord.
- Take care of your bracelet: To maintain the quality and longevity of your elastic cord bracelet, keep it away from harsh chemicals like perfumes and sunscreen. These chemicals can degrade the elasticity of the cord. It’s also important to avoid stretching the bracelet excessively when putting it on or taking it off.
By following these tips, you’ll be able to create beautiful and durable beaded stretchy bracelets. Experiment with different bead combinations and designs to make bracelets that reflect your personal style.

Recommended Bead Sizes for Elastic Cord Bracelets:
| Bead Size | Recommended Elastic Cord Diameter |
|---|---|
| Small Seed Beads | 0.5mm – 0.7mm |
| Medium Seed Beads | 0.7mm – 1mm |
| Pony Beads | 1mm – 1.5mm |
| Large Beads | 1.5mm – 2mm |
Quotes:
“Pre-stretching the elastic cord is an essential step in bracelet making. It ensures that the cord maintains its elasticity and shape over time.” – Bracelet Making Expert
“Choosing the right beads is key to creating a beautiful and comfortable elastic cord bracelet. Opt for lightweight beads with large holes for easy stringing.” – Jewelry Designer
Other Bracelet-Making Techniques with Elastic Cord
While the basic method of making a bracelet with elastic cord is simple and versatile, there are other techniques you can explore to create unique and eye-catching designs. These alternative bracelet-making techniques allow you to further showcase your creativity and experiment with different ways to use elastic cord for bracelets.
Incorporating Wire Beads:
One technique involves incorporating wire beads into your elastic cord bracelets. Wire beads are hollow metal beads that can be strung onto the elastic cord alongside your regular beads. These beads add a touch of elegance and sophistication to your bracelets, and they can be used as focal points or spaced out evenly throughout the design. Wire beads come in various shapes, sizes, and finishes, allowing you to create bracelets with a more intricate and detailed appearance.
Adding Charms and Pendants:
Another technique involves adding charms and pendants to your elastic cord bracelets. Charms and pendants are small decorative pieces that can be attached to the elastic cord using jump rings or directly threaded onto the cord. These embellishments provide an opportunity to personalize your bracelets and make them even more meaningful. Choose charms and pendants that reflect your interests, hobbies, or special memories to create bracelets that truly represent you.
Creating Wrap Bracelets:
Wrap bracelets are another popular technique using elastic cord. To make a wrap bracelet, you will need a longer length of elastic cord and an assortment of beads. Instead of stringing the beads onto the cord in a single strand, you will create multiple layers or wraps by threading the beads onto the cord at regular intervals. The result is a stylish and trendy bracelet that wraps several times around your wrist. Experiment with different bead combinations, colors, and patterns to create a wrap bracelet that suits your style.
These are just a few examples of the many bracelet-making techniques you can explore with elastic cord. Don’t be afraid to think outside the box and try new ideas. Let your imagination run wild and create bracelets that are as unique as you are!
Elastic Cord Bracelet Care: Preserving the Longevity of Your Jewelry
Making bracelets with elastic cord is a delightful way to express your creativity and style. To ensure that your beautiful creations last for a long time, it’s important to take proper care of your elastic cord bracelets. Here are some essential tips for preserving the longevity of your jewelry.
1. Avoid Excessive Stretching
When putting on or taking off your elastic cord bracelet, be mindful of how much you stretch it. Excessive stretching can strain the cord and lead to breakage. To avoid unnecessary wear and tear, gently slide the bracelet onto your wrist without stretching it too much. Similarly, take care when removing the bracelet to prevent accidental stretching.
2. Protect from Water, Chemicals, and Extreme Temperatures
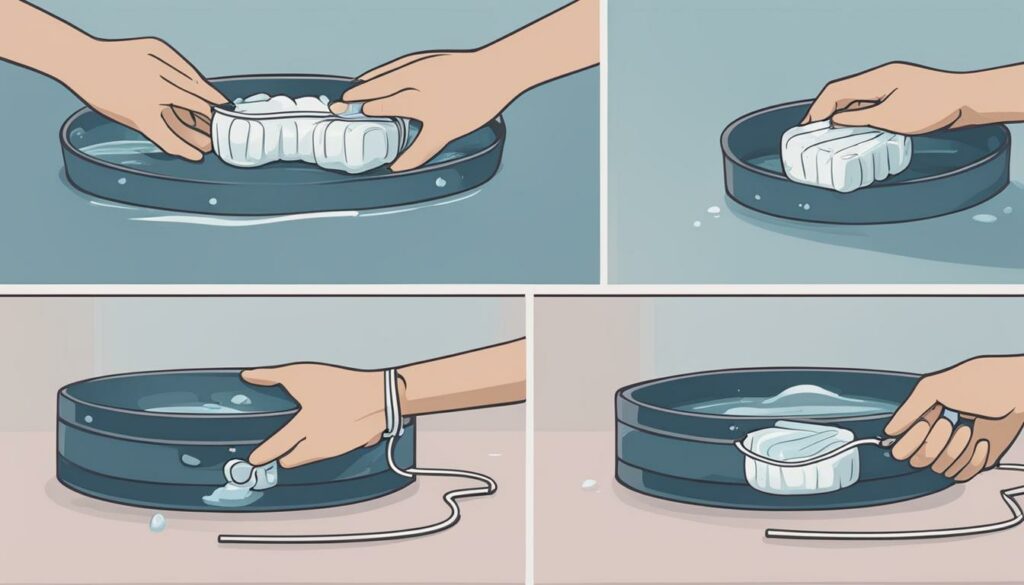
It’s crucial to keep your elastic cord bracelet away from water, chemicals, and extreme temperatures. Exposure to water can cause the cord to weaken and lose its elasticity. Harsh chemicals, such as perfumes and sunscreen, can also damage the cord and degrade its quality. Additionally, extreme temperatures can affect the elasticity and longevity of the cord. To preserve your bracelet, remove it before swimming, bathing, applying lotions, or engaging in activities that involve exposure to chemicals and extreme temperatures.
3. Regularly Inspect and Repair
Regularly inspect your elastic cord bracelet for any signs of wear, stretching, or damage. Over time, the cord may become loose or start to lose its shape. If you notice any fraying, stretching, or weakening of the cord, it’s essential to repair or restring the bracelet promptly. By addressing any issues early on, you can prevent further damage and prolong the life of your jewelry.
4. Proper Storage
When you’re not wearing your elastic cord bracelet, store it in a cool, dry place away from direct sunlight. Excessive heat and sunlight can degrade the cord’s elasticity and color over time. Consider using a jewelry box or a soft pouch to protect your bracelet from dust and potential scratches. Taking the time to store your jewelry properly will help maintain its quality and keep it looking its best for years to come.
By following these care and maintenance tips, you can enjoy your elastic cord bracelets for a long time. Remember to be gentle with your jewelry, protect it from water and chemicals, regularly inspect and repair as needed, and store it properly when not in use. With proper care, your elastic cord bracelets will continue to bring joy and style to your everyday attire.
Conclusion
In conclusion, making a bracelet with elastic cord is a creative and enjoyable DIY project that allows you to showcase your personal style. By following the step-by-step guide provided, you can easily create beautiful and unique bracelets using minimal supplies. The benefits of using elastic cord, such as comfort, flexibility, and customization, make it an ideal choice for bracelet making.
When choosing beads for your elastic cord bracelet, consider their size, weight, and hole diameter to ensure a perfect fit. Pre-stretching the elastic cord and arranging the beads in the desired order before stringing them will help you create a polished and professional-looking bracelet. Tying a secure knot and adding a small amount of jewelry glue will ensure the durability of your bracelet.
To maintain the longevity of your elastic cord bracelets, it is important to follow proper care and maintenance practices. Avoid excessive stretching, exposure to water or harsh chemicals, and store the bracelets in a cool, dry place. Regularly inspect the cord for any signs of wear or stretching and make any necessary repairs promptly.
Overall, making bracelets with elastic cord is a rewarding and fulfilling craft that allows you to express your creativity and create personalized pieces of jewelry. So grab your supplies, get creative, and have fun making beautiful bracelets with elastic cord!
FAQ
What supplies do I need to make a bracelet with elastic cord?
You will need elastic beading cord, beads, a beading tray, a bead stopper or binder clip, a large eye beading needle or beading wire, jewelry glue, and optional crimp bead covers.
What type of beads can I use for an elastic cord bracelet?
You can use a variety of beads, such as seed beads or plastic pony beads. Just make sure the hole size of the beads matches the diameter of the elastic cord.
Which type of elastic cord is best for making bracelets?
There are different varieties of elastic cord available, including stretch cord, stretch floss, and fabric-covered elastic cord. Choose the diameter that suits the size and weight of your beads.
How do I prepare the elastic cord and beads before making the bracelet?
It is recommended to pre-stretch the elastic cord to maintain its elasticity. Also, gather all your beads and arrange them in the desired order before stringing them onto the cord.
How do I string the beads onto the elastic cord?
You can string the beads by hand or use a beading needle or folded beading wire for smaller holes. Start with the bead that has the largest hole and continue adding beads until you reach the desired length.
How do I tie the knot and secure the elastic cord?
Fold the elastic cord in half and tie a secure knot, such as a surgeon’s knot. Apply a small amount of jewelry glue to the knot for added security.
How do I hide the knot in the bracelet?
You can slide the knot into the hole of a neighboring bead or use a crimp bead cover if necessary. Apply a small dab of glue to the knot, slide the adjacent bead over it, and let the glue dry.
How do I take care of my elastic cord bracelet?
Avoid excessive stretching, keep it away from water and harsh chemicals, regularly inspect for wear or stretching, and store it in a cool, dry place to preserve the elasticity of the cord.
Source Links
- https://www.thesprucecrafts.com/elastic-bracelets-that-dont-break-339566
- https://www.wikihow.com/Make-a-Beaded-Bracelet
- https://sarahmaker.com/beaded-bracelets/

Hey lovely readers! My name is Chantal and I am obsessed with everything accessory and jewelry. My husband (and best friend) John and I, have been writing content for this blog for over 4 years now started the RTP store with over 4000 curated accessories and jewelry. We are traveling around the world to find the latest products, negotiate the best prices and find the best quality for our readers. We have managed to make our passion for feeling and looking good into our work. We are always open to new product suggestion, improvements or feedback. If you would like to chitchat with me, email me here!
