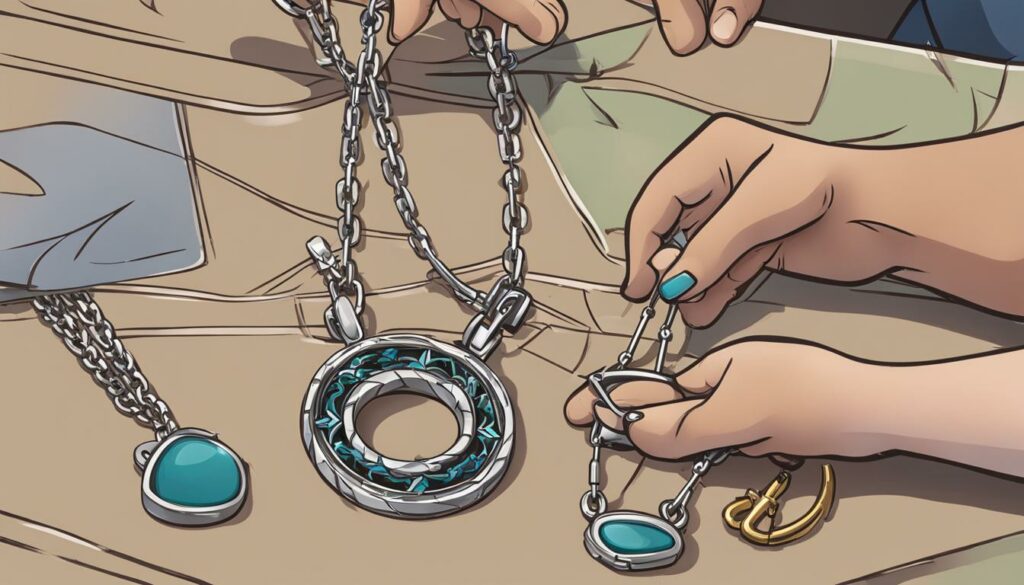
Are you wondering how to get a pendant on a chain without any hassle? Look no further! In this article, I will share some valuable pendant chain tips that will make the process a breeze. Whether you’re a jewelry enthusiast or just starting out, these tips will help you create stunning pendant necklaces with ease.
Attaching a pendant to a chain may seem daunting, but with the right techniques, it’s a simple task. I will walk you through different methods, such as the jump ring method, bail method, head pin and eye pin method, as well as the charm clip method. These methods offer flexibility and allow you to achieve unique necklace designs.
When it comes to choosing the base for your necklace, you have plenty of options. You can opt for wire or thread for beaded necklaces, while chain or cord works well for pendant necklaces. Consider the design and durability when selecting the appropriate base material for your necklace.
Whether you’re planning to create a beaded necklace, pendant necklace, or even a multi-strand necklace, I’ll provide step-by-step assembly instructions to guide you through the process. From selecting the right materials to securing the necklace with a clasp or knot, you’ll have all the information you need to create your own stylish pendant necklaces.
Now, let’s dive in and discover the wonderful world of pendant necklace making!
The Jump Ring Method
The jump ring method is a popular technique for attaching a pendant to a chain in jewelry making. It offers a secure and versatile way to create unique necklace designs. To use the jump ring method, you will need jewelry pliers and jump rings that match the size and material of your pendant and chain.
Here are the steps to follow when using the jump ring method:
- Using your jewelry pliers, grip the jump ring on either side of the opening and gently twist it open. Avoid pulling the ring apart, as this can weaken its shape.
- Slide the open jump ring onto a link in the necklace chain, positioning it where you want the pendant to hang.
- Attach the jump ring to the pendant’s connector, such as a loop or bail, by sliding it through and then closing the jump ring securely. Make sure the pendant is facing the right direction.
- To close the jump ring, use the pliers to twist the ends back together. Ensure that the ring is fully closed and secure.
Using the jump ring method allows you to easily swap out pendants or adjust the position of the pendant on the chain. It’s a versatile technique that offers endless possibilities for creating personalized pendant necklaces.
The Bail Method
When it comes to attaching pendants to chains, the bail method is a popular choice. Bails are decorative necklace connectors that not only provide a secure attachment but also help flatten the pendant against the body, preventing it from twisting around. There are two types of bails commonly used: standard bails and pinched bails.
Standard bails can be easily used with jump rings to attach a pendant. Simply slide the jump ring onto the bail’s loop and close it securely. Then, open another jump ring and connect it to the pendant’s connector. Finally, attach the jump ring to the bail, ensuring a tight closure. This method requires basic knowledge of jewelry making techniques, but it offers a reliable and elegant way to showcase your pendant.
Pinched bails, on the other hand, have their own mechanism for opening and attaching to the pendant. These bails eliminate the need for jump rings and provide a sleek and seamless look. To use a pinched bail, gently pinch the sides of the bail’s opening to widen it. Then slide the pendant’s connector into the bail and release the pinch, allowing the bail to securely hold the pendant. Pinched bails are great for pendants without connectors or for those who prefer a more streamlined design.
Table: Pros and Cons of the Bail Method
| Pros | Cons |
|---|---|
| Provides a secure attachment | Requires some familiarity with jewelry making techniques |
| Flattens the pendant against the body | Pinched bails may not be suitable for all pendant shapes |
| Allows for a stylish and elegant look | May limit the movement of the pendant |
Whether you choose standard bails or pinched bails, the bail method offers a versatile and effective way to attach pendants to chains. Consider the design of your pendant and your personal preferences to determine which type of bail is best suited for your necklace. With a little practice and attention to detail, you’ll be able to create stunning pendant necklaces that effortlessly combine style and functionality.
The Head Pin and Eye Pin Method
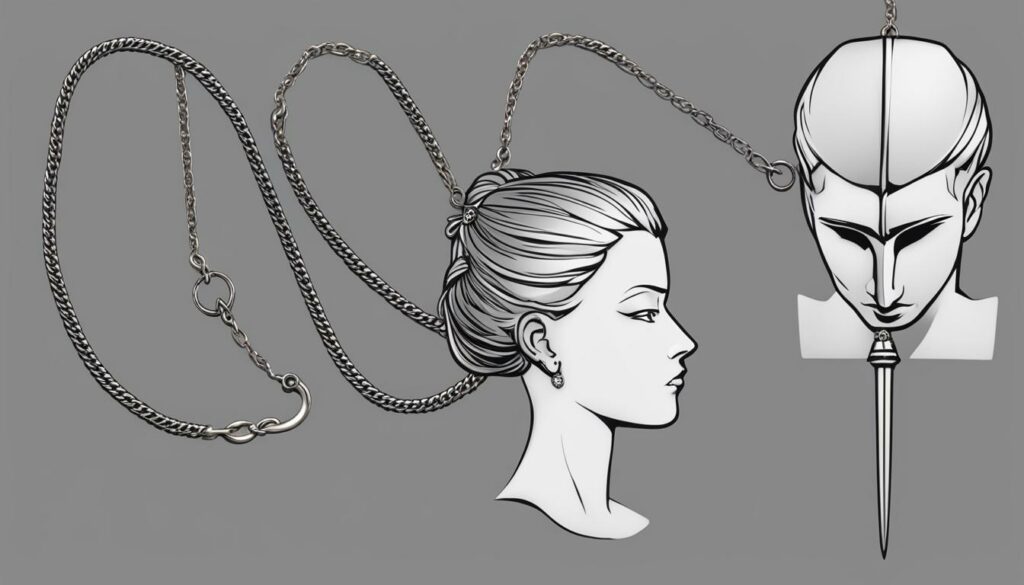
To attach pendants to chains, another popular method is using head pins and eye pins. These handy jewelry findings are ideal for pendants with drilled holes, providing a secure and stylish connection. The head pin method involves inserting the head pin into the hole of the pendant and creating a loop at the end to attach it to the chain. On the other hand, the eye pin method features a round loop at the top of the pin that can be opened like a jump ring. Both methods require the use of pliers to ensure a strong and durable attachment.
Using head pins and eye pins offers versatility in pendant and chain connection. You can choose from an array of designs and lengths to complement your pendant and create a personalized necklace. The pins come in various materials such as sterling silver, gold-filled, or base metal, allowing you to match the metal color with your pendant and chain.
When using the head pin or eye pin method, it’s essential to secure the connection properly. Ensure that the loop or eye is tightly closed so that the pendant does not detach from the chain. Additionally, you can add decorative beads or charms above the pendant for an extra touch of elegance. Experiment with different combinations to create unique and eye-catching pendant necklaces.
Advantages of Using Head Pins and Eye Pins
- Secure and durable attachment for pendants
- Wide variety of designs and lengths available
- Option to match metal color with pendant and chain
- Potential for adding decorative beads or charms
The Charm Clip Method
Are you looking for an easy and hassle-free way to attach a pendant to a chain? Look no further than the charm clip method. This simple and convenient technique allows you to securely attach your pendant to a chain without the need for specialized tools. Whether you’re a beginner or an experienced jewelry maker, the charm clip method is a quick and reliable solution for pendant attachment.
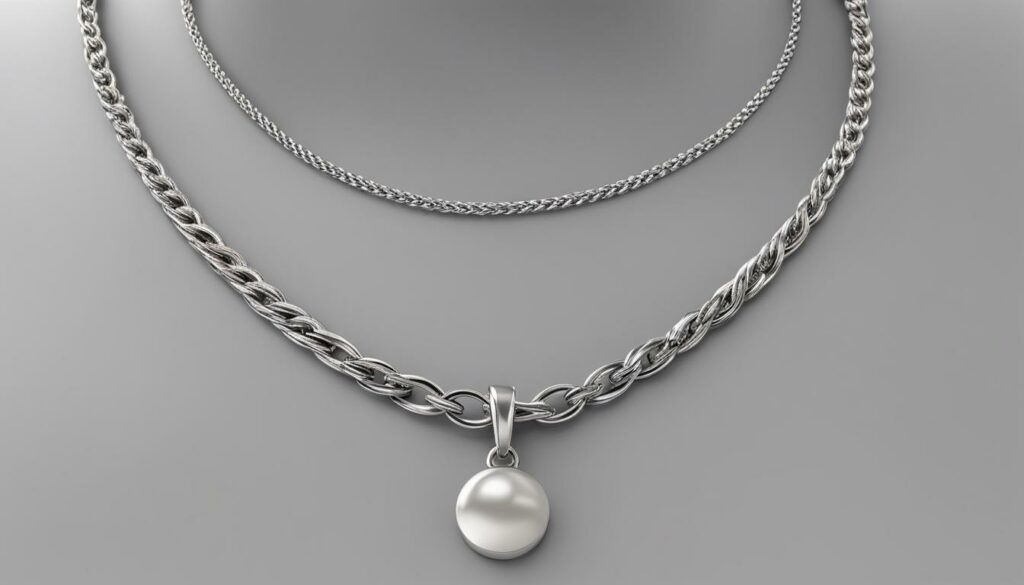
With the charm clip method, you’ll need a charm clip connector, which is a small jewelry component with a built-in closure. These connectors are designed to easily connect to jump rings that come with the pendant. Simply open the charm clip, slide it onto the jump ring, and close it securely. The charm clip provides a strong and secure attachment, ensuring that your pendant stays in place.
The charm clip method is not limited to chain necklaces; it can also be used with corded necklaces. This versatility allows you to create different necklace styles and experiment with various pendant designs. Whether you prefer a delicate chain or a bold statement necklace, the charm clip method offers flexibility and convenience.
Benefits of the Charm Clip Method
- Quick and easy pendant attachment
- No need for specialized tools
- Secure and reliable connection
- Versatile for chain and corded necklaces
- Allows for experimentation with pendant designs
Try out the charm clip method for your next pendant necklace project and enjoy the simplicity and convenience it offers. Whether you’re a beginner or a seasoned jewelry maker, this method is sure to make pendant attachment a breeze.
| Method | Tools Required | Suitable for Chain Necklaces | Suitable for Corded Necklaces |
|---|---|---|---|
| The Charm Clip Method | Charm clip connector | Yes | Yes |
| The Jump Ring Method | Jewelry pliers, jump rings | Yes | No |
| The Bail Method | Bail, jump ring | Yes | No |
| The Head Pin and Eye Pin Method | Pliers, head pin or eye pin | No | No |
Choosing the Base for Your Necklace
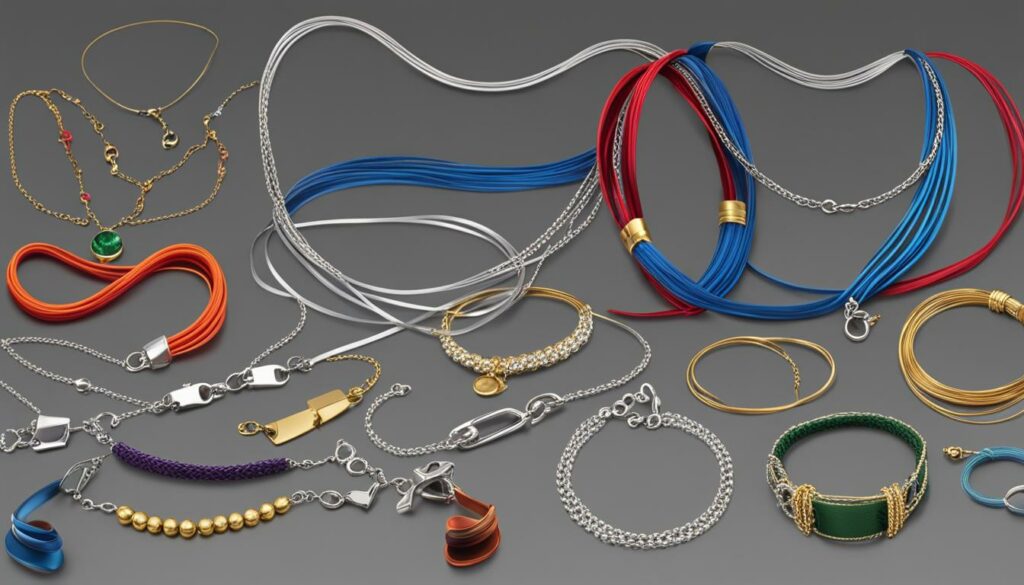
When it comes to creating a pendant necklace, one of the key decisions you’ll need to make is choosing the base material. The type of base material you select can significantly impact the overall look and feel of your necklace. Here are some popular necklace base options to consider:
- Wire: Using wire as a base allows for flexibility and versatility in creating beaded necklaces. It provides a sturdy foundation for attaching beads and pendants.
- Thread: If you’re looking to create a delicate and lightweight necklace, using thread as your base material can be an excellent choice. It works well for beaded necklaces and allows the beads to take center stage.
- Chain: Chain necklaces offer a classic and timeless look for pendant necklaces. They come in various styles and metals, such as sterling silver, gold, or rose gold, allowing you to choose the one that best complements your pendant.
- Cord: For a more casual and bohemian vibe, opting for a cord as your necklace base can be a fantastic choice. It works well with a wide range of pendants and is often used in pendant necklaces with natural or rustic designs.
Before deciding on the base material, consider the design and durability you’re aiming for. Think about how the base material will complement your pendant and enhance its overall appearance. It’s also essential to choose a material that fits your personal style and comfort preferences.
Ultimately, the base material sets the foundation for your pendant necklace, so take the time to choose one that aligns with your vision and desired aesthetic. Whether you opt for wire, thread, chain, or cord, each base material offers its own unique charm and possibilities. Experiment with different materials to create beautiful and personalized pendant necklaces that showcase your individual style.
Beaded Necklace Assembly Steps
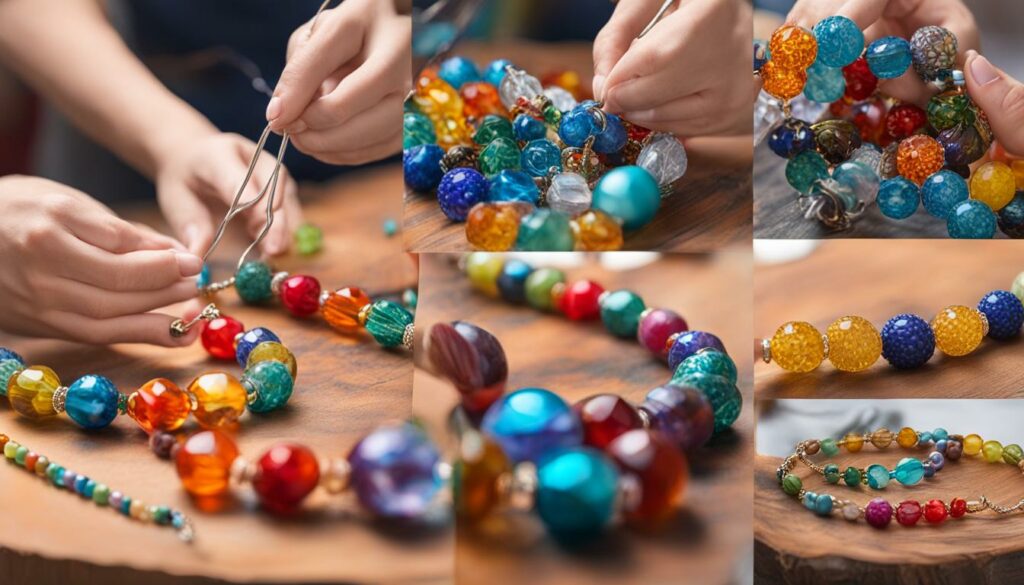
Creating a beaded necklace is a fun and creative way to showcase your style. Whether you’re a beginner or an experienced jewelry maker, following these assembly steps will help you create a beautiful beaded necklace.
Gather Your Materials
Before you begin assembling your beaded necklace, make sure you have all the necessary materials. Here’s what you’ll need:
- Beads of your choice
- Wire or thread as the base material
- Clasp for necklace closure
- Jewelry pliers
- Wire cutters (if using wire)
Once you have everything ready, you can start creating your beaded necklace.
Assembly Steps
- Cut the wire or thread slightly longer than your desired necklace length to allow room for attaching the clasp.
- Attach one end of the wire or thread to the clasp using a jump ring or by tying a knot, depending on your preference.
- Start sliding the beads onto the wire or thread, creating your desired necklace design.
- Continue adding beads until you reach your desired necklace length.
- Once you’ve reached the desired length, attach the other end of the wire or thread to the clasp using a jump ring or by tying a knot.
Ensure that the wire or thread is securely attached to the clasp to prevent your beaded necklace from coming apart. You can use jewelry pliers to close the jump rings or tie secure knots.
Once your beaded necklace is assembled, take a moment to admire your handiwork. You can now proudly wear your unique and stylish creation!
| Step | Description |
|---|---|
| 1 | Cut the wire or thread slightly longer than your desired necklace length to allow room for attaching the clasp. |
| 2 | Attach one end of the wire or thread to the clasp using a jump ring or by tying a knot, depending on your preference. |
| 3 | Start sliding the beads onto the wire or thread, creating your desired necklace design. |
| 4 | Continue adding beads until you reach your desired necklace length. |
| 5 | Once you’ve reached the desired length, attach the other end of the wire or thread to the clasp using a jump ring or by tying a knot. |
Follow these steps and let your creativity run wild as you design and assemble your own stunning beaded necklace.
Pendant Necklace Assembly Steps
Creating a pendant necklace is a simple process that allows you to showcase your personal style. Whether you’re using a chain or a cord as the base material, the assembly steps remain similar. Follow these instructions to attach your pendant securely and create a stunning necklace.
Selecting the Base Material
Start by choosing a chain or cord as the base for your pendant necklace. Chains provide a sleek and elegant look, while cords offer a more casual and bohemian vibe. Consider the style of your pendant and the occasion for which you’re creating the necklace to determine the most suitable base material.
Measuring and Cutting the Base
Next, measure the desired length of your necklace and cut the chain or cord accordingly. Use a pair of wire cutters or sharp scissors to achieve a clean and precise cut. Remember to account for the additional length that the pendant will add to the necklace.
Attaching the Pendant
Once you have your base material ready, slide the pendant onto the chain or cord. Ensure that the pendant is centered and positioned the way you want it to hang when worn. If using a chain, you can attach the pendant using a jump ring or a lobster clasp. For cords, you have the option to tie a knot around the pendant or use a decorative connector.
After attaching the pendant, secure the ends of the chain with a clasp or tie a knot in the cord, depending on your preference. Lobster clasps are commonly used for chain necklaces as they provide a secure closure. If using a cord, you can experiment with different knotting techniques to add visual interest to your necklace.
By following these pendant necklace assembly steps, you can easily create beautiful and personalized accessories that enhance your style. Let your creativity shine as you explore different pendant shapes, materials, and chain/cord combinations to design unique necklaces that express your individuality.
Multi-Strand Necklace Assembly Steps
If you’re looking to create a bold and eye-catching necklace, a multi-strand design could be the perfect choice. With multiple strands of seed beads, you can achieve a chunky statement necklace or a delicate layered look. Here are the steps to assemble a multi-strand necklace:
Gather Your Materials:
- Seed beads in your desired colors and sizes
- Thread or cord for each strand
- Scissors
- Clasps or closures
Step 1: Determine the number of strands you want for your necklace. It can be two, three, or even more depending on the desired look.
Step 2: Cut your thread or cord into longer strands to accommodate the desired length of your necklace. Remember to account for the extra length needed for tying or attaching the clasp.
Step 3: String the seed beads onto each strand, alternating colors or patterns as desired. You can create a uniform look with the same beads on each strand or mix and match for a more eclectic style.
Step 4: Once all the strands are beaded, gather them together and align them. Make sure they are evenly distributed and straight.
Step 5: Using a single thread or cord, tie the ends of the strands together tightly to secure the necklace. Alternatively, you can use a closure or clasp to attach the strands for easy wear.
Congratulations! You have successfully assembled your multi-strand necklace. You can now enjoy wearing your unique and stylish creation.
Conclusion
After exploring different methods for attaching a pendant to a chain, it’s clear that there are several options available to create unique and stylish necklace designs. Whether you choose the jump ring method, bail method, head pin and eye pin method, or charm clip method, each technique has its own advantages and can be used to achieve a semi-permanent or permanent pendant attachment.
When assembling your pendant necklace, it’s important to consider the base material that best suits your design and durability preferences. Whether you opt for wire, thread, chain, or cord, selecting the appropriate base will ensure a secure and visually appealing necklace.
By following the step-by-step assembly instructions for pendant necklaces, you can confidently create your own personalized pieces. And don’t forget to experiment with different techniques and materials to truly reflect your individual style. From elegant and delicate pendants to bold and chunky statement necklaces, the possibilities are endless.
So go ahead, unleash your creativity, and enjoy the process of crafting stunning pendant necklaces that showcase your unique personality and flair! With these pendant necklace tips and a summary of the necklace assembly methods, you’re well-equipped to embark on your jewelry-making journey.
FAQ
What are the different methods for attaching a pendant to a chain?
The different methods include the jump ring method, bail method, head pin and eye pin method, and charm clip method.
How do I use the jump ring method to attach a pendant?
To use the jump ring method, open the jump ring slightly with jewelry pliers, slide it onto a link in the necklace, attach it to the pendant’s connector, and then securely close the jump ring.
What is the bail method and how does it work?
Bails are decorative necklace connectors that flatten the pendant against the body. Standard bails can be used with jump rings to attach a pendant, while pinched bails have their own mechanism for opening and attaching to the pendant.
How do I attach a pendant using head pins and eye pins?
For pendants with drilled holes, insert a head pin into the hole and bend it into a loop for attachment. Eye pins are similar but have a round loop at the top. Use pliers to create a secure connection with both methods.
What is the charm clip method and how does it work?
The charm clip method uses small jewelry connectors with built-in closures. They easily attach to jump rings that come with the pendant, providing a quick and secure attachment without the need for pliers.
How do I choose the base material for a necklace?
The base material for a necklace can be wire, thread, chain, or cord. Consider the design and durability when selecting the base material for your pendant necklace.
What are the assembly steps for a beaded necklace?
To create a beaded necklace, choose a base material like wire or thread, cut it slightly longer than your desired length, select beads that complement the base, attach one end to a clasp, slide on the beads, and then secure the other end with a clasp or knot.
How do I assemble a pendant necklace?
Select a chain or cord as the base material, cut it to your desired length, slide the pendant onto the base, ensure it is centered, and then secure the ends with a clasp or knot. Lobster clasps are commonly used for chain necklaces.
What are the assembly steps for a multi-strand necklace?
To create a multi-strand necklace, choose the desired number of strands, use seed beads as the primary material, cut the thread or cord into longer strands, string the beads onto each strand, and then tie them together to secure the necklace.
Source Links
- https://www.waxingpoetic.com/blogs/news/how-to-attach-a-pendant-to-a-necklace-4-ways
- https://www.kernowcraft.com/jewellery-making-tips/jewellery-making-basics/8-ways-to-fasten-a-necklace-or-bracelet
- https://www.wikihow.com/Make-a-Necklace

Hey lovely readers! My name is Chantal and I am obsessed with everything accessory and jewelry. My husband (and best friend) John and I, have been writing content for this blog for over 4 years now started the RTP store with over 4000 curated accessories and jewelry. We are traveling around the world to find the latest products, negotiate the best prices and find the best quality for our readers. We have managed to make our passion for feeling and looking good into our work. We are always open to new product suggestion, improvements or feedback. If you would like to chitchat with me, email me here!
